|
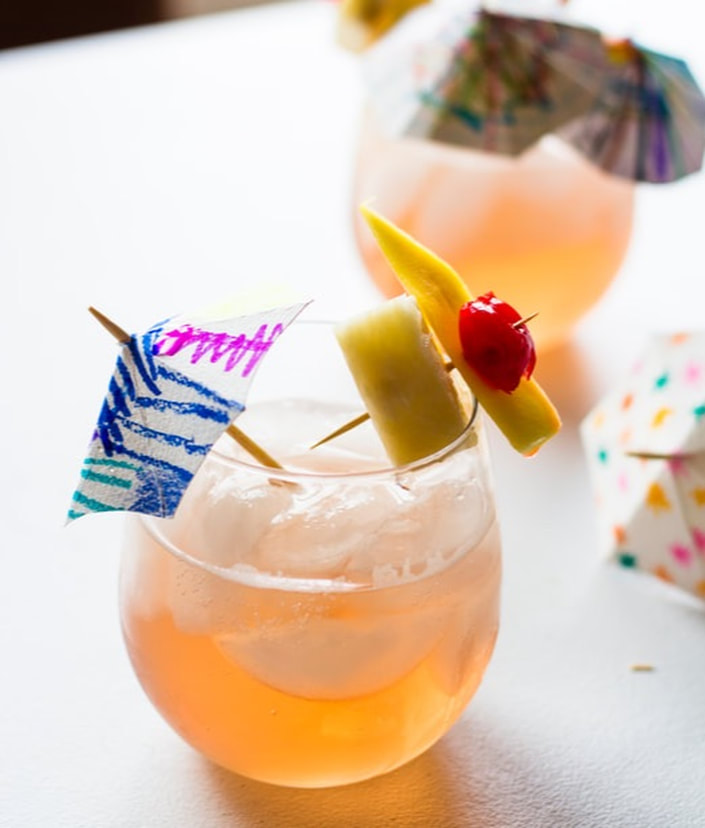
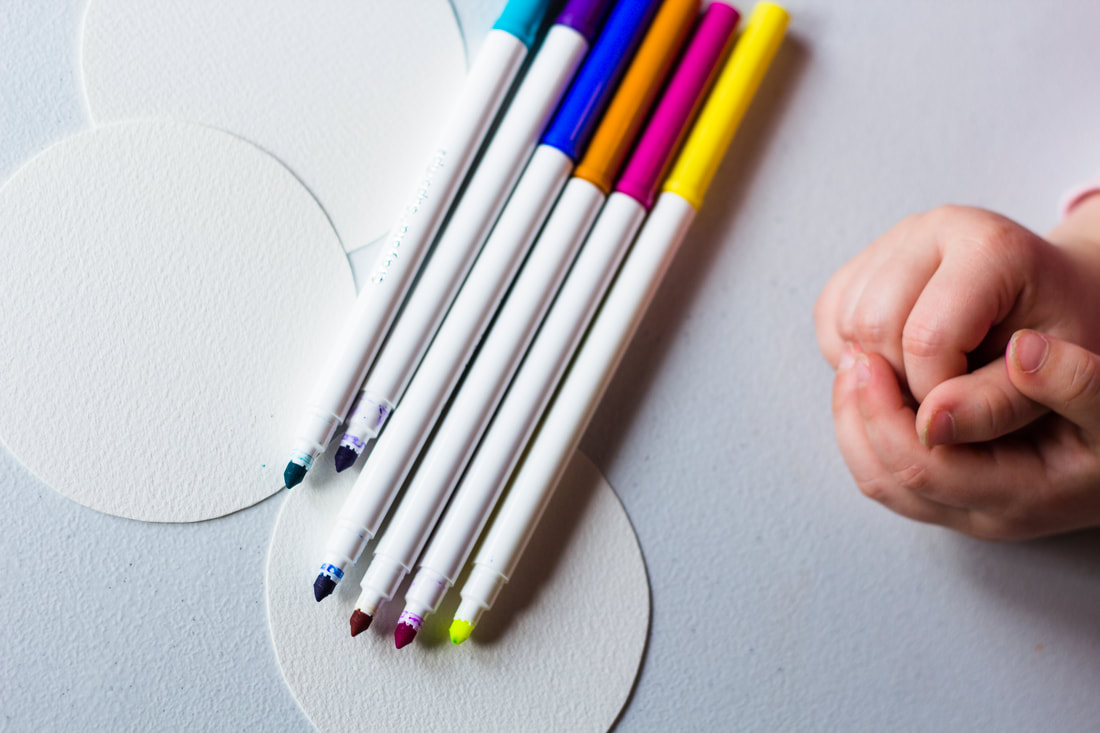
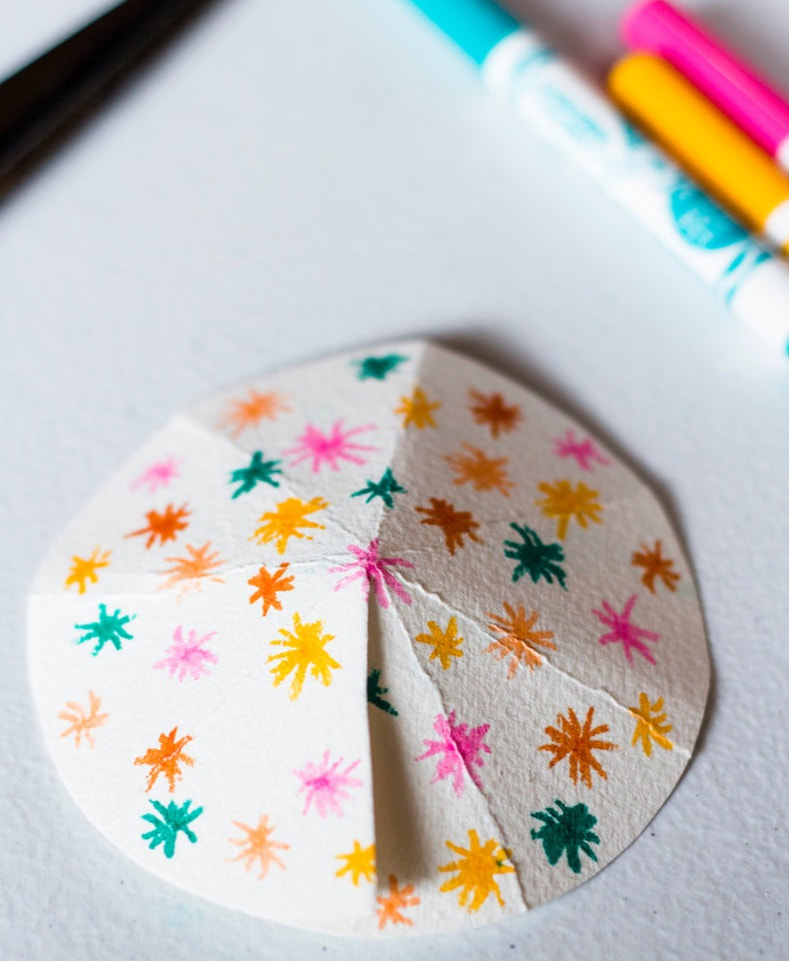
If you’re anything like me you’ve been stuck at home with your children for more days than you’re willing to count, and things are getting a little scary. Here, at least, we are running dangerously low on washable paint (them) and patience (me). My kids seem to burn through crafts at a ridiculous rate, so any new activities that don’t involve a ton of prep or mess is preferred . Whether you have kids who need entertaining or you’re just bored AF, what could be more fun then making some cocktail umbrellas, creating some fun drinks, putting on some music and having a party! Here’s what you need:
Now that you have your cocktail umbrellas create a non-alcoholic cocktail and have a party!
0 Comments
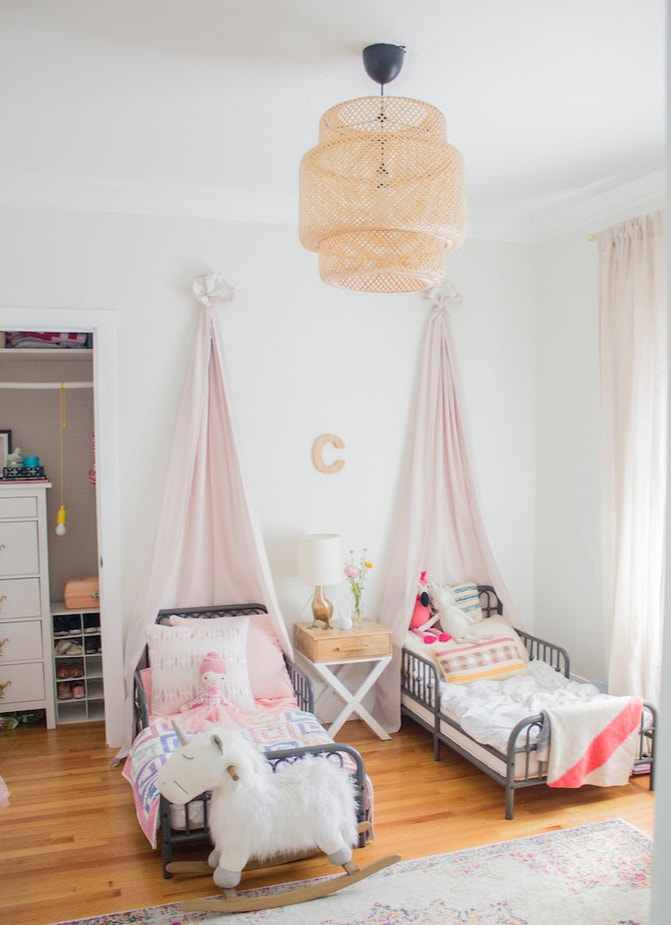
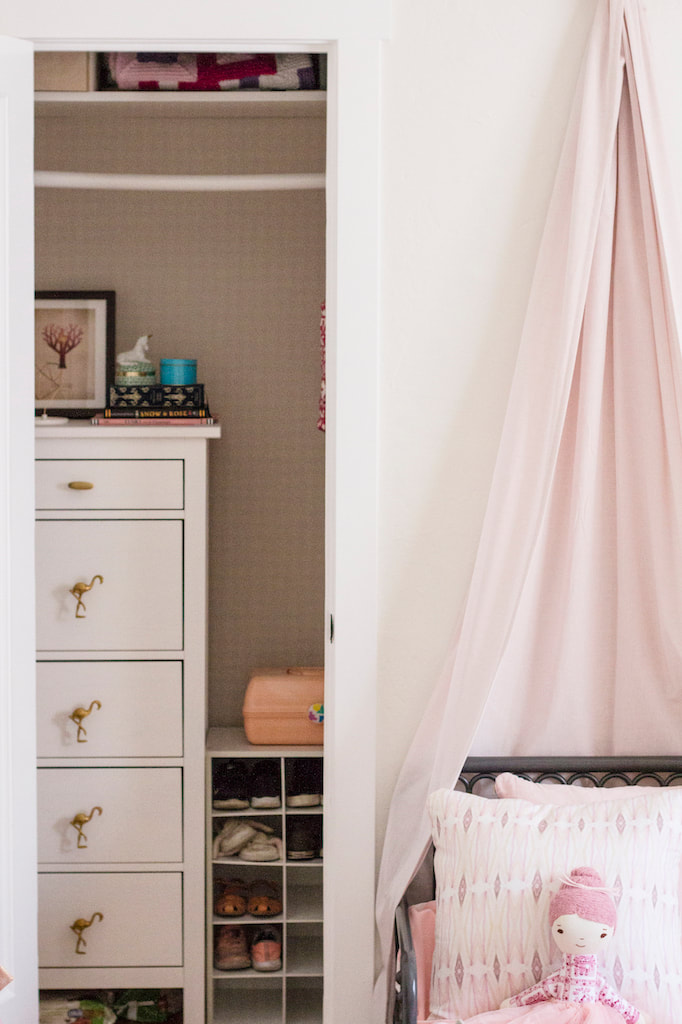
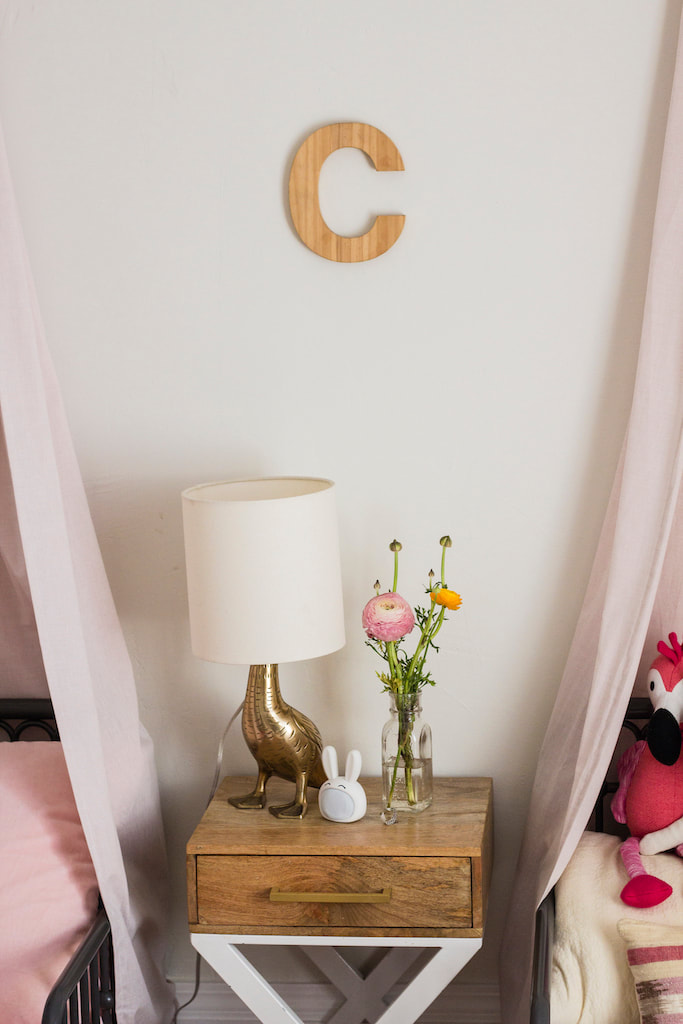
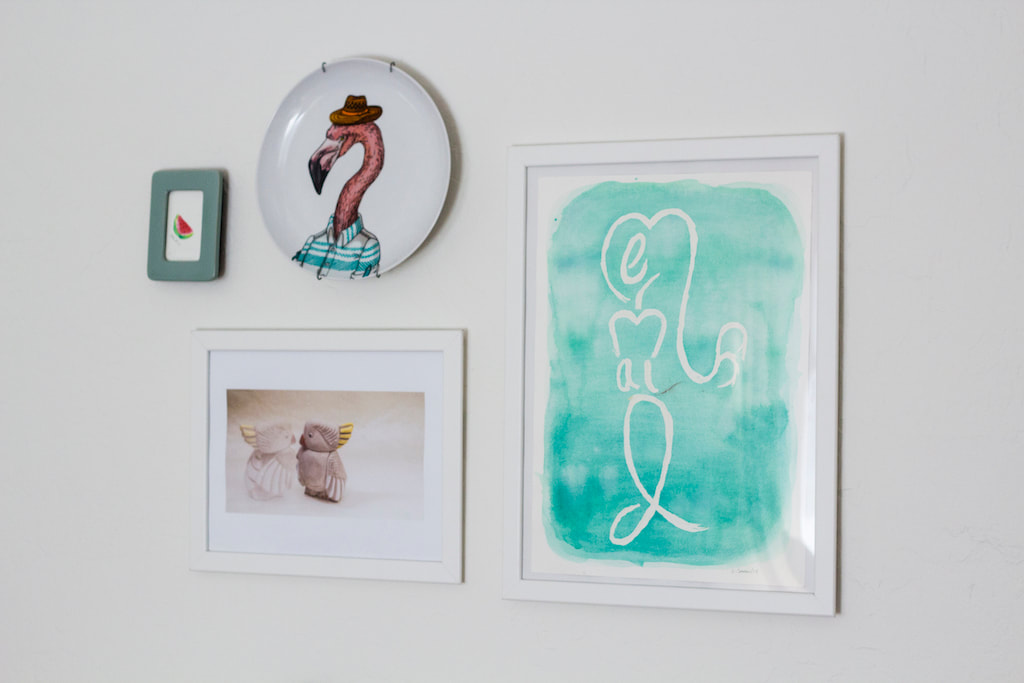
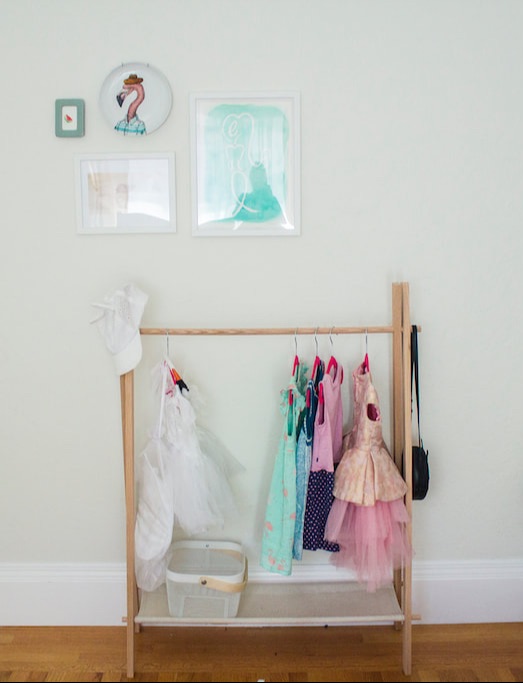
It all started with a set of curtains, I swear… I needed to switch out my daughters pink and not shear enough curtains with something that would let more light into her bedroom. Once I had done that I was left with two perfectly good curtains that I would definitely not be using in any other part of the house. Eventually, Charlie will be getting a bigger bed that can be expanded into an extra guest bed, but for now she’s stuck with these two toddler beds left over from when she shared a room with her brother. This idea for the DIY canopies just came to me as a way to make her room feel a little more special, her room hasn't been touched since we moved back in. From there things just spiraled out of control. Unfortunately, I don't have any before photos, but the carpet and all of the furniture was already there I just added some art work, the canopies and the knobs on the dresser are new and the only thing that I actually paid for. The art work is mostly from a stash of stuff that I’ve made over the years and almost everything is stuck to the walls with 3M picture hangers, which are my newest obsession, who needs nails? Get ready for the most complicated DIY ever, just kidding its super easy and involves zero sewing, nailing or screwing. Here’s what you will need 1 set of curtains (mine are from Ikea) 3M hooks elastic band ribbon
Obviously, these are toddler beds and I think that this would work well for a crib, but you might have to experiment for a larger sized bed. I thought this was a great idea for a little temporary decor if you have have a nursery or a temperamental toddler. Let me know if you try this DIY, I would love to see photos.
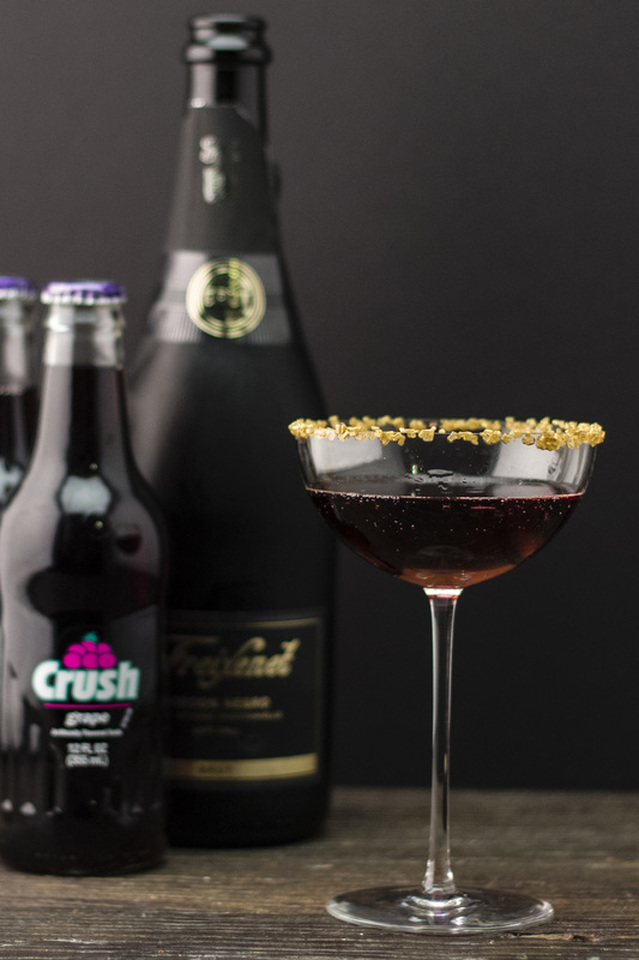
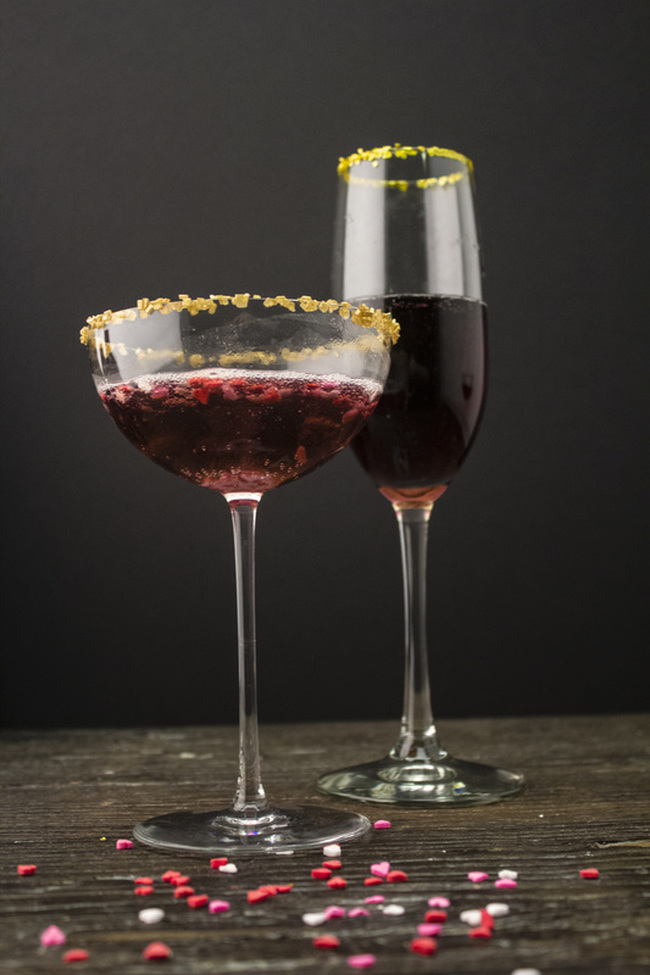
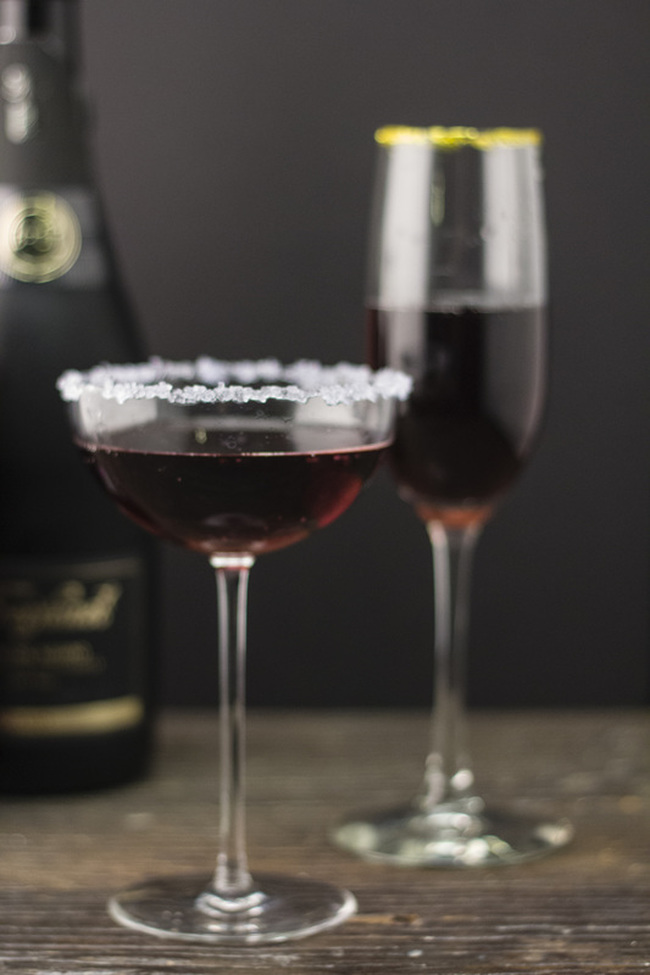
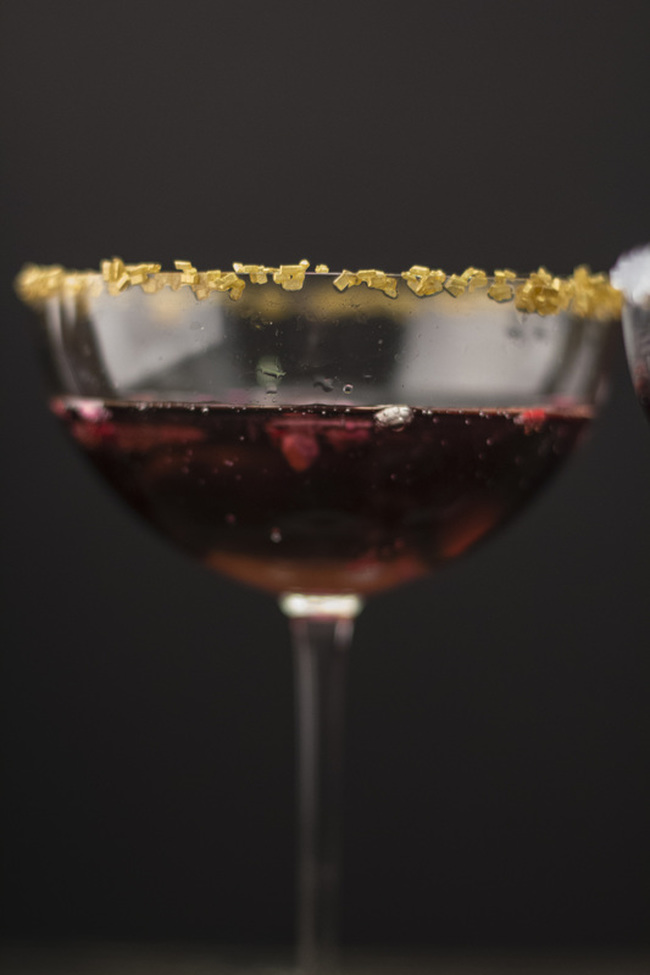
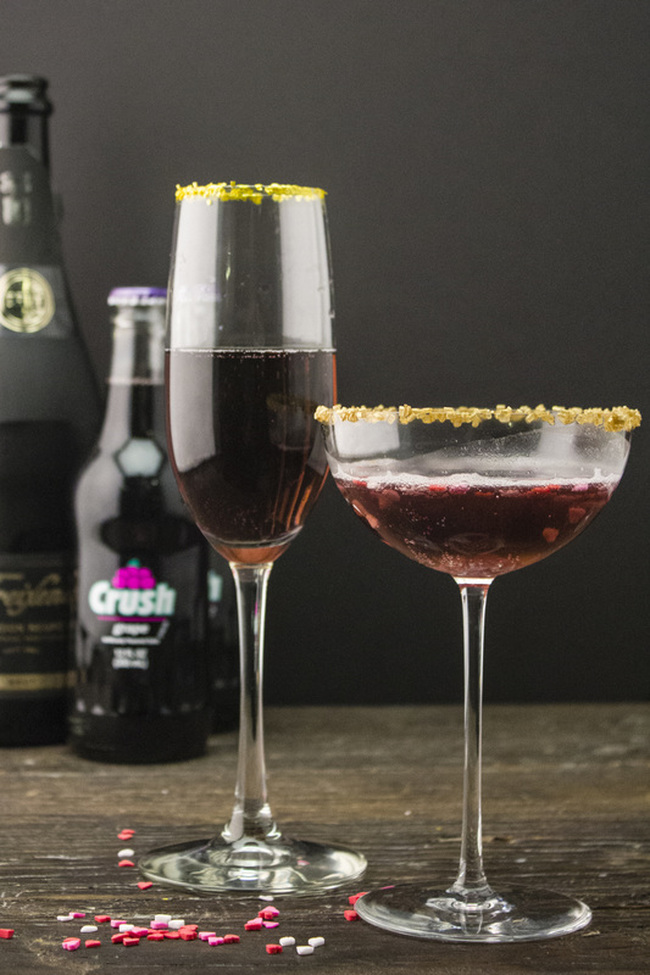
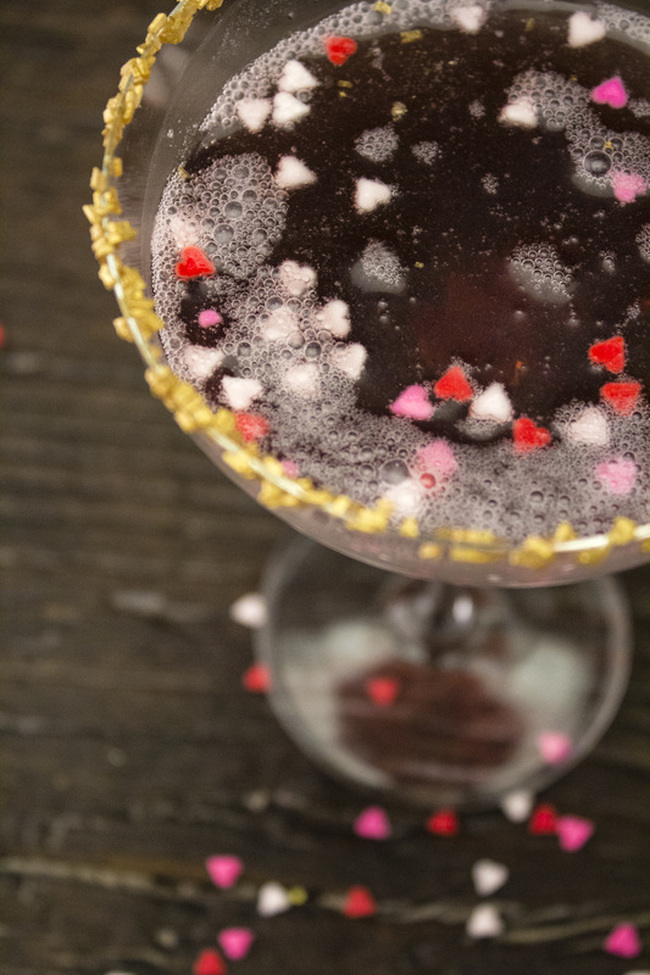
My Valentine happens to be in China this year, which means a very nice Valentine's Day present for me (or else). But for the rest of you lucky enough to be spending the day with the someone you love, lust for or just like enough to make a fancy cocktail, this ones for you. I give you the Champagne Crush! I feel no shame in admitting that I love Grape Crush soda, I actually love pop (where I come from we call it pop and you can't stop me, unlike spell check which automatically steals my ‘u’’s). As a child I was raised by a crazy dictator masquerading as my mother who forbade us most pleasures in life, namely sugar, t.v., and carbonated beverages. It was a hard life, and now I am a pop fiend. No lie, I would rather have a Dr. Pepper on a bad day then a glass of wine. So what could be better then combining two of my most loved things on the day that celebrates love? Well, having my husband not be on another continent would be good, do I sound bitter? Moving on. Champagne Crush Champagne Grape Crush .5 oz. Gin This is a really easy recipe, not really a recipe at all more of a suggestion in fact. Pour a half ounce of gin into a champagne flute or glass of your choice, add Grape Crush to your desired amount and then top with Champagne. This drink can be made totally to your taste, does your sweetie love sweets? Then go with an asti Champagne. Prefer a drier drink with just a hint of grape goodness use a brute and just a touch of Grape Crush. This cocktail is totally customizable so show the one you love how well you know them, and extra points if you use a pretty rimmer! Happy Valentines Day!
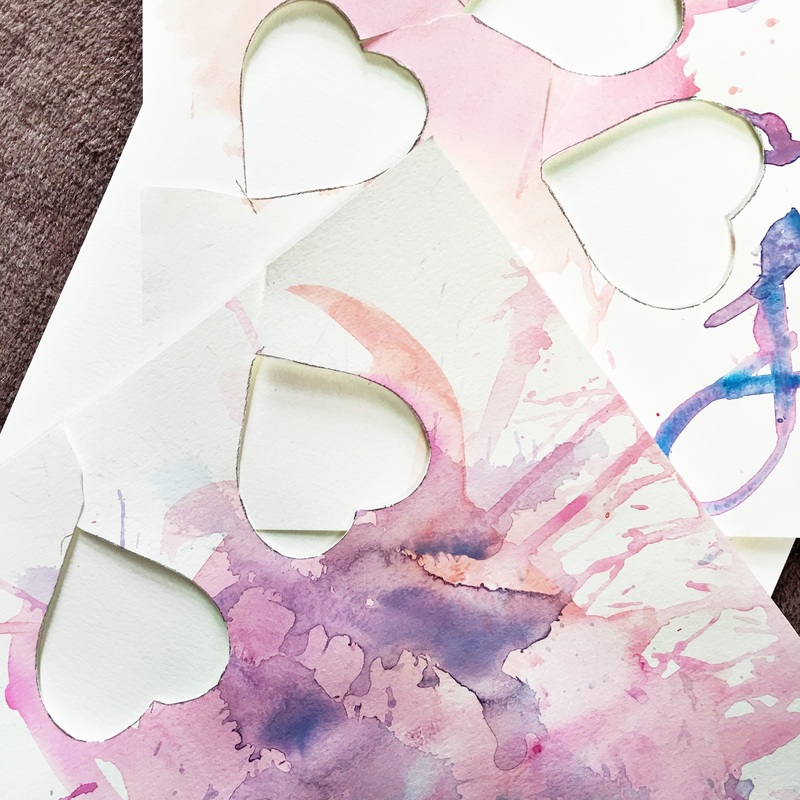
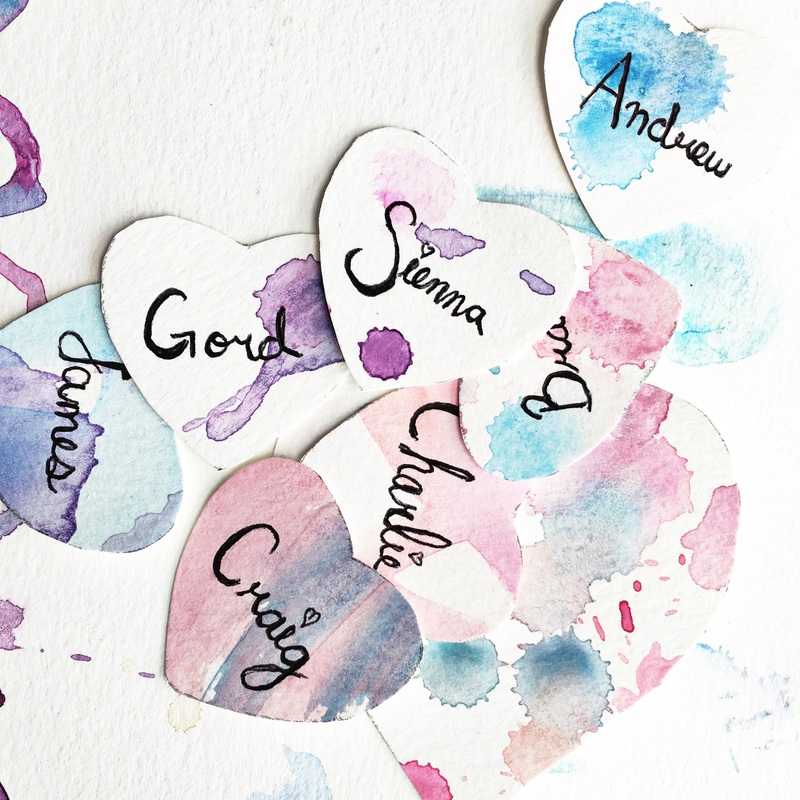
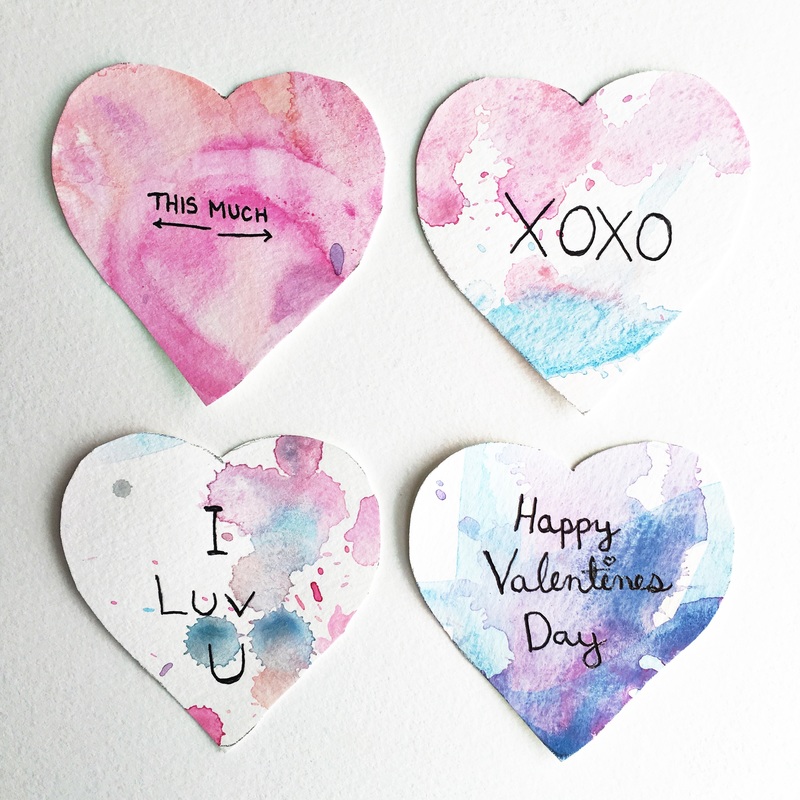
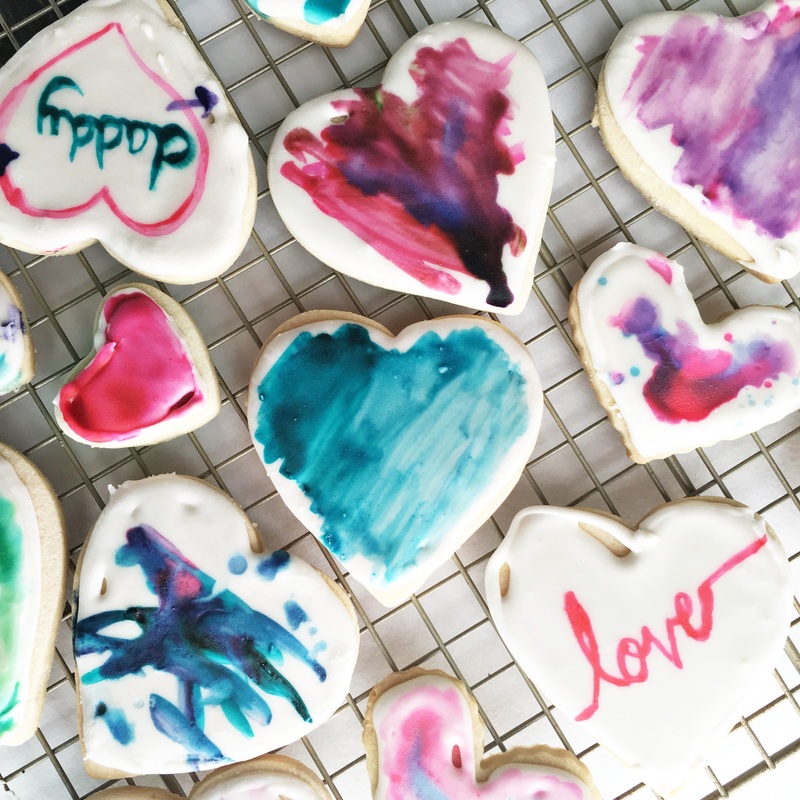
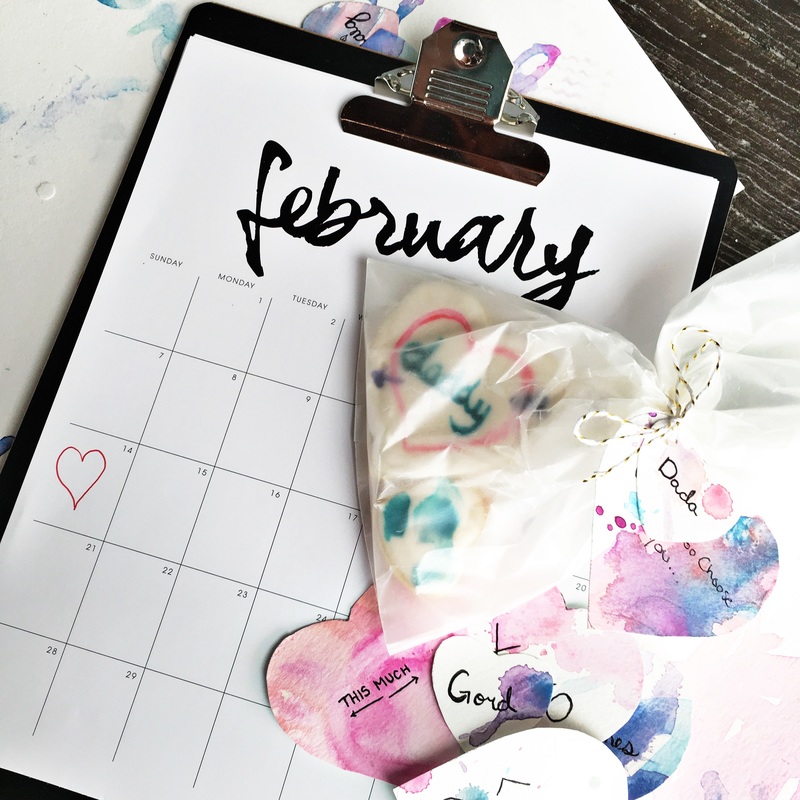
Valentine's Day is such a weird non-holiday holiday. I really don't feel like its a gift giving occasion, I mean don't get me wrong if you give me something I’m gonna keep it… And trying to go out anywhere seems like the worst idea to me. But I do love any excuse to make stuff, and then force that stuff on to other unsuspecting people as thoughtful gifts. Since I’m new to this whole toddler thing, this year was a bit on the fly. I ended up with two crafts along the same theme that are generally toddler friendly and best of all you can do them separately or combine them as the ultimate valentine! Toddler’s love painting, it’s messy, creative and has that subtle air of destruction they find so enticing. This was my starting point. I’ve really settled on watercolors as the best toddler paint medium, they are easy to set-up, clean-up, and wash-up. So here are you’re instructions for toddler friendly watercolor valentine hearts.
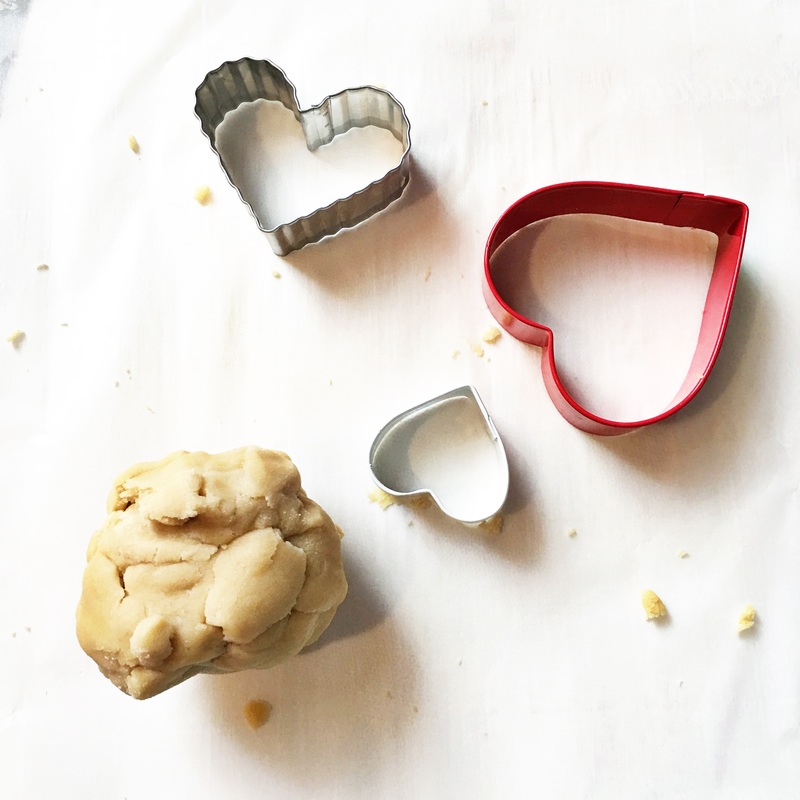
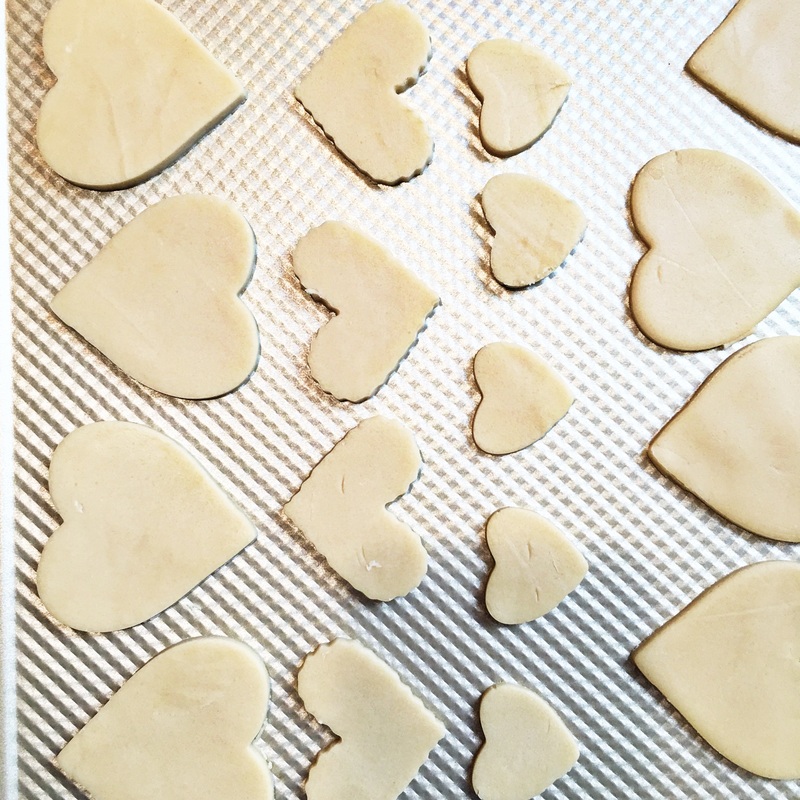
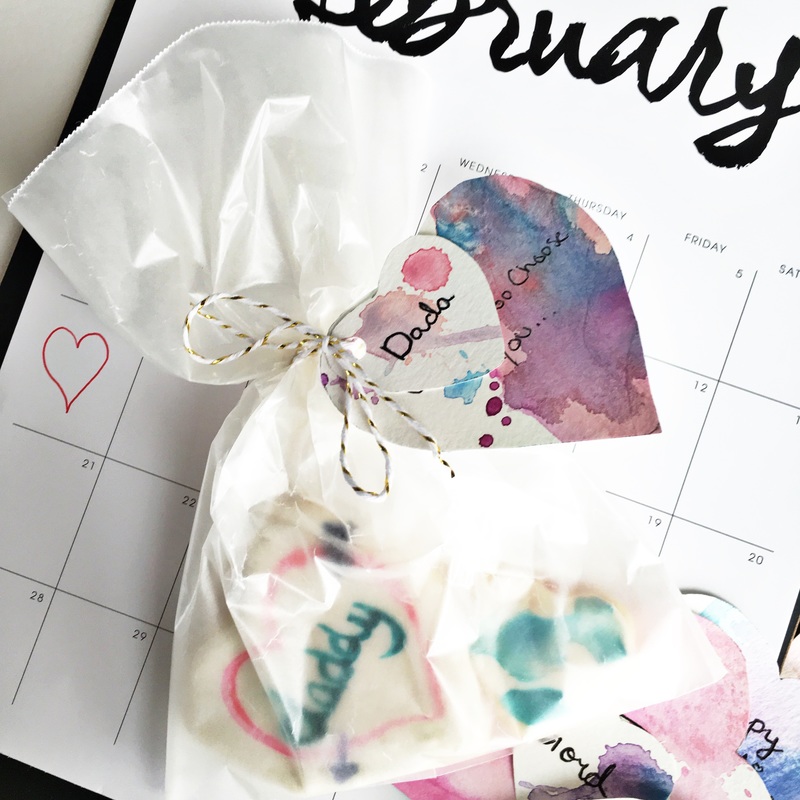
I made a batch of my favorite sugar cookie recipe and the cut them out into a couple different sized hearts and iced them with royal icing (for a more uniform look I recommend not holding a fussy baby while icing cookies). Once the icing is very dry you can paint on it with gel food coloring just like you did on your paper. Use a fine tipped paint brush and some clear flavored extract or vodka ( you might want to pour yourself a glass at this point) to dip your brush in instead of water. This helps the food coloring spread more easily on the icing and the alcohol will make the drying time faster. If you’re toddler is anything like mine you’re going to have to pay extra close attention or else you will find that they have consumed all of the cookies and are now mainlining the food coloring, so maybe hold off on that glass of vodka for now… This is were I get fancy, or this is as fancy as I get… I used the water color hearts as tags for little bags of water color cookies, meta I know. Seriously though this was an easy and fun little craft and I think that it looks pretty nice too. You should give it a try, even if you don't have a toddler, I won’t judge.
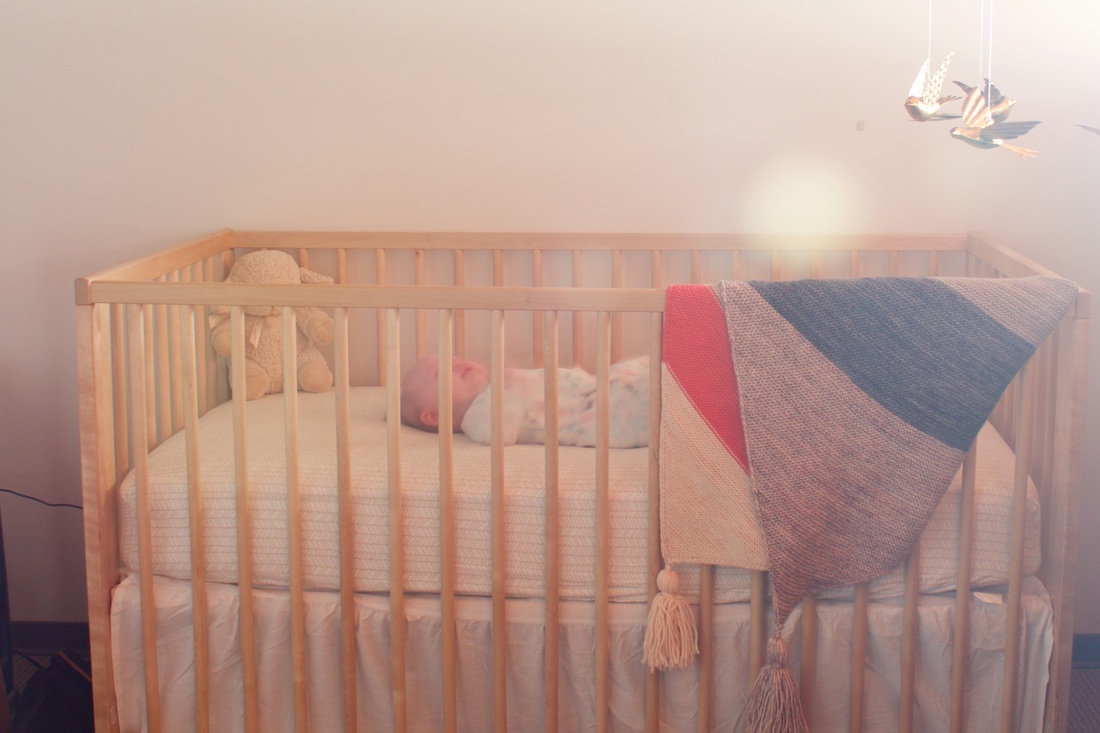
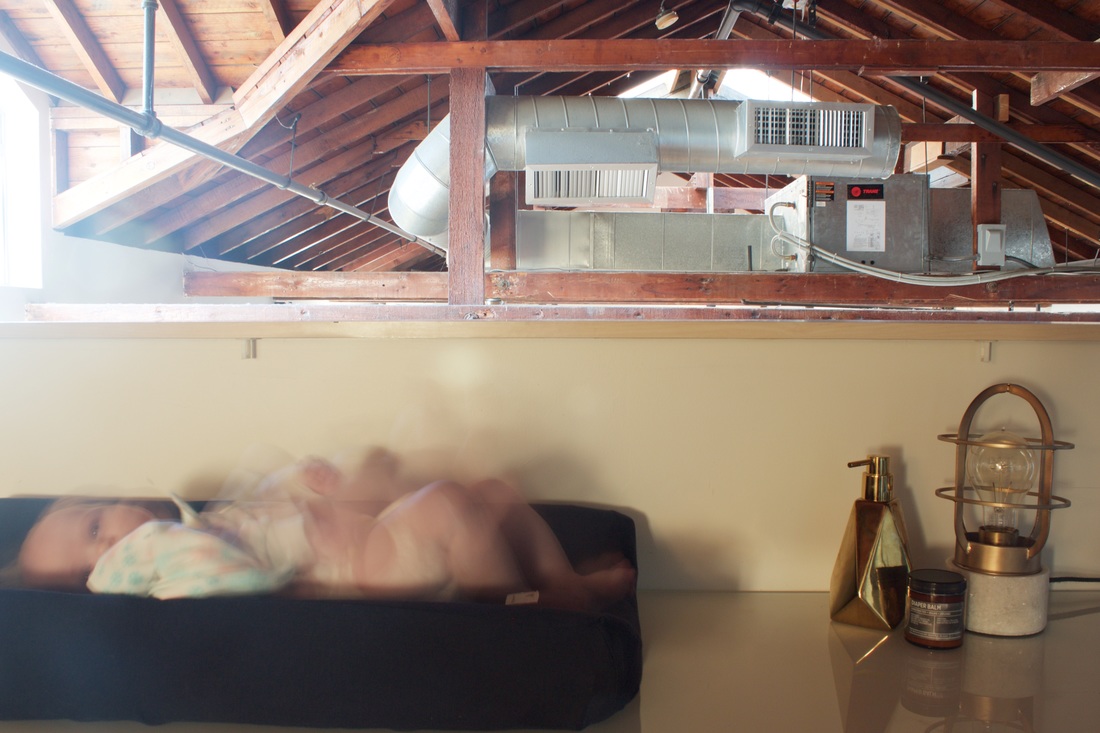
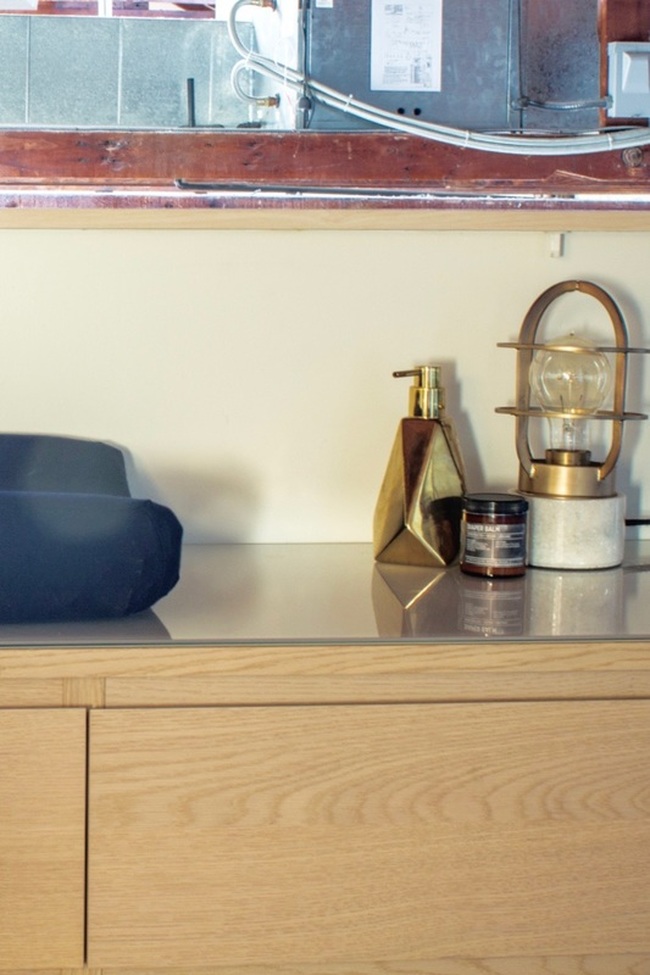
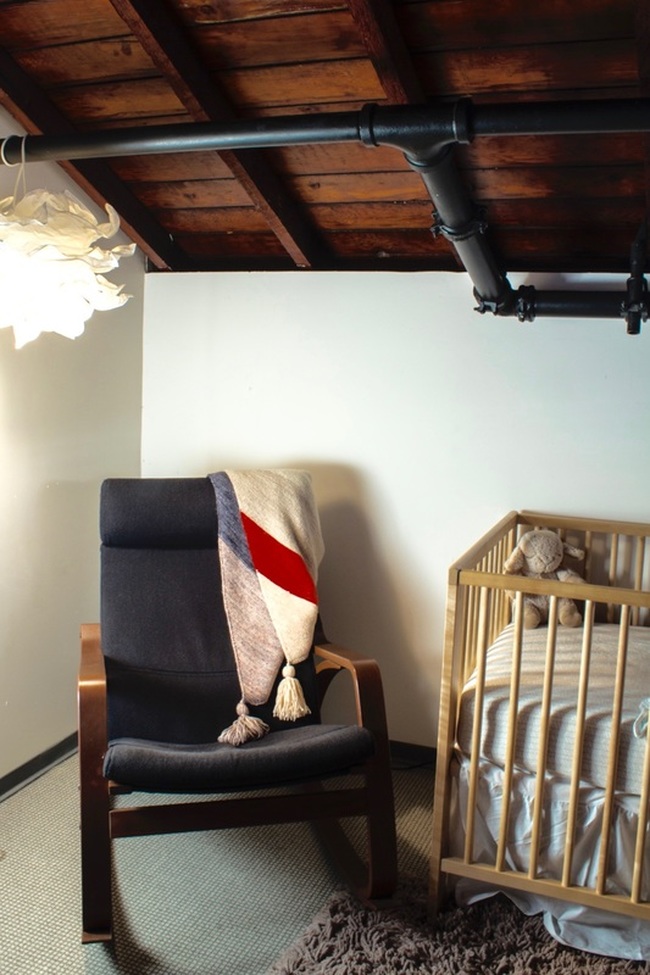
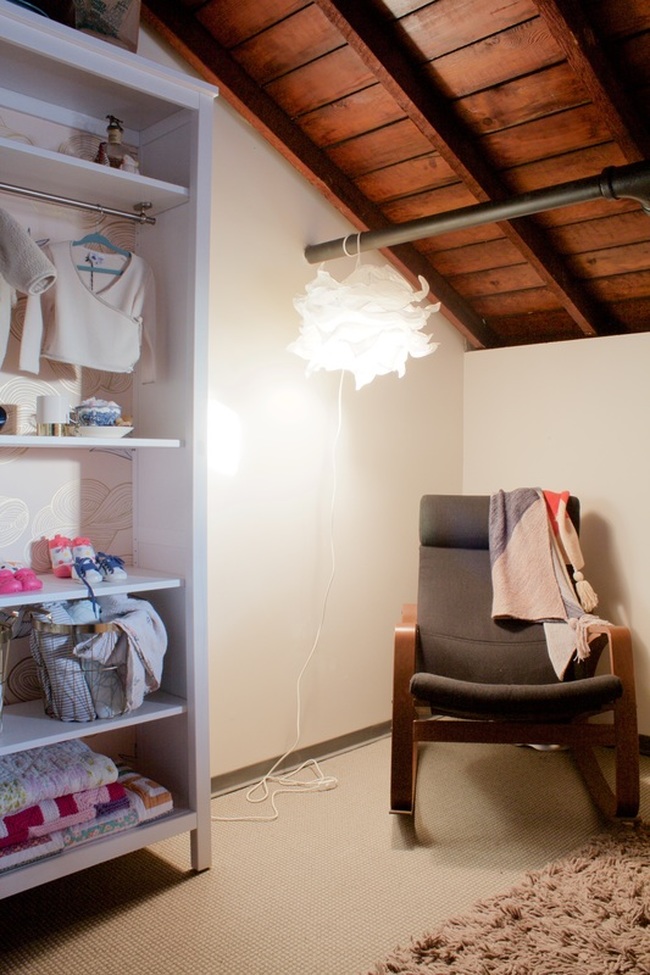
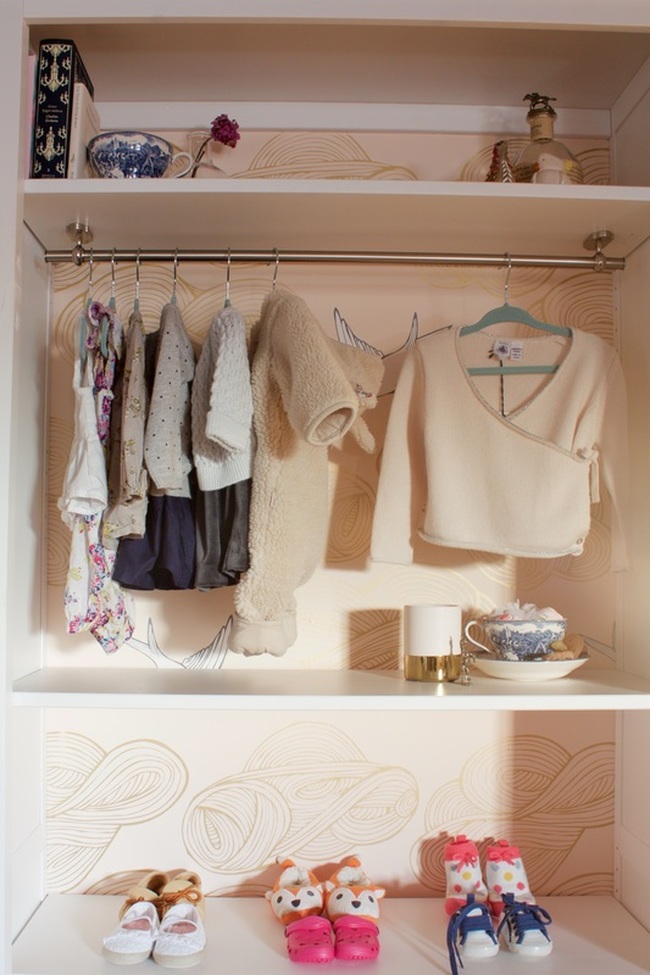
Let me begin by saying that we live in a loft, and that we’re moving in the near future. Living in a giant open space with no walls and two babies isn't as problematic as you might think, but we’re feeling the need for a backyard with an energetic two year old running around. Real estate in the Bay Area is crazy, to say the least, so while we’re looking Charlie needs a space of her own. Right now Charlie’s nursery shares a space with our office, and it’s a little cramped and gloomy. I’ve decided on a basic color pallet of navy and peach with grey and beige as neutrals, and a bird theme, inspired by a set of birds given to me by my father when I was a baby. I'm particularly fond of Charlie's mobile, and you can check out how I made it here. All of the furniture is from Ikea, and I would love to replace the rocker using something with a little more character and function. Since there was no closet area, we hacked an Ikea bookcase that happened to be laying around (its a long story). We removed a shelf and added a rail to the underside of one of the remaining shelves to hang tiny little baby clothes from. I couldn't resist using this cute wallpaper to give the piece some interest, and now Charlie has a pretty place to keep her clothes. When she gets a little bigger we can always rearrange the shelves and turn it into a doll closet or a place to hang costumes. Pulling this room together was fun, but also a little stressful. I've really enjoyed loft living, and I'm so glad that we did it, but I'm ready for a more traditional space... with doors.
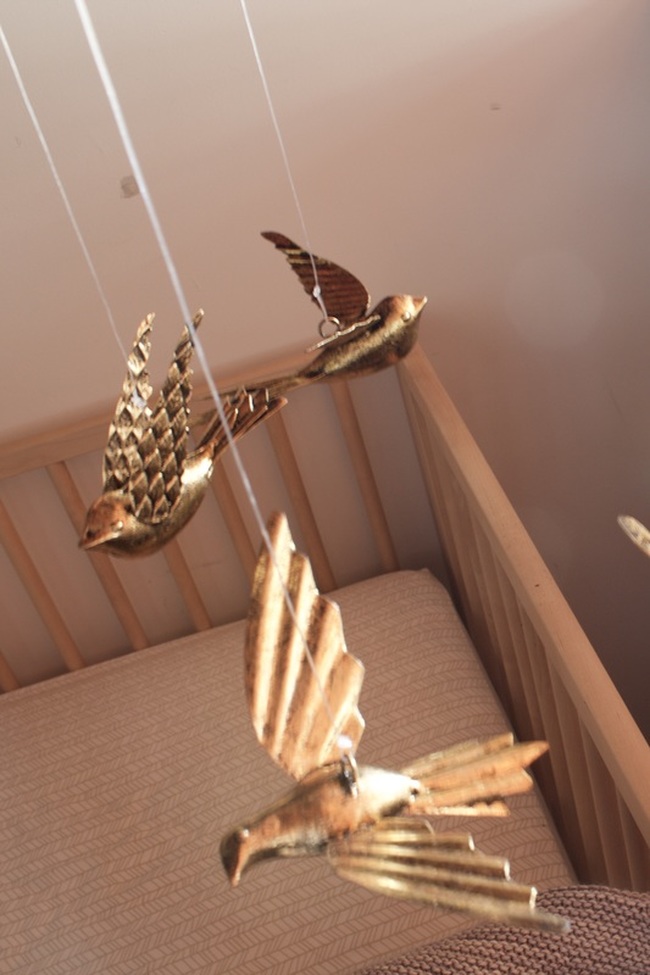
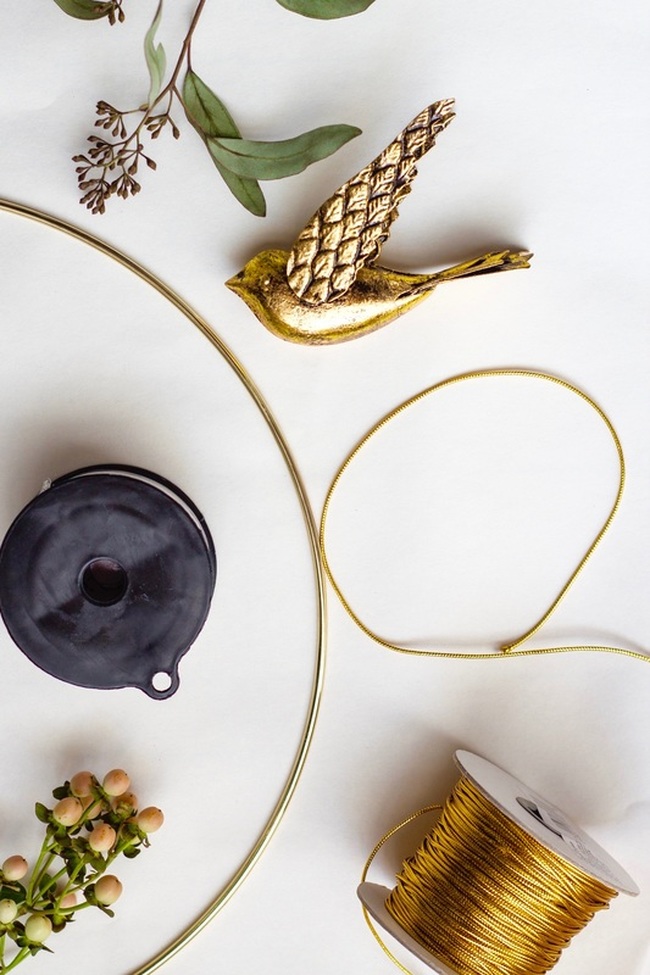
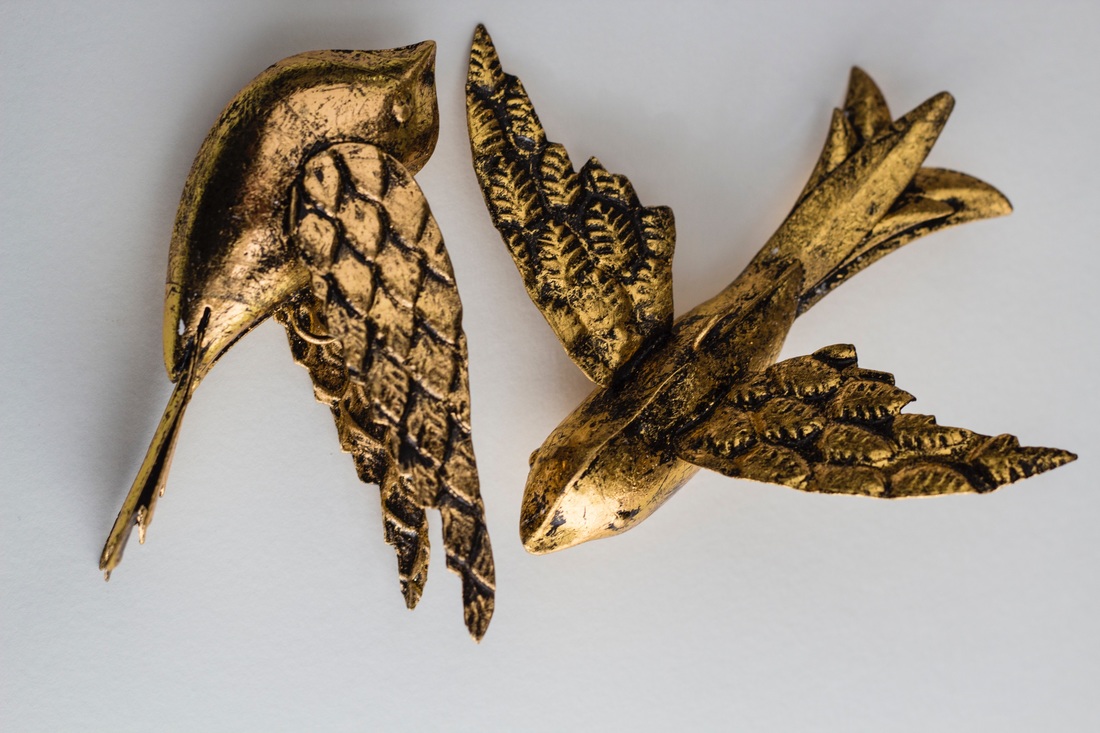
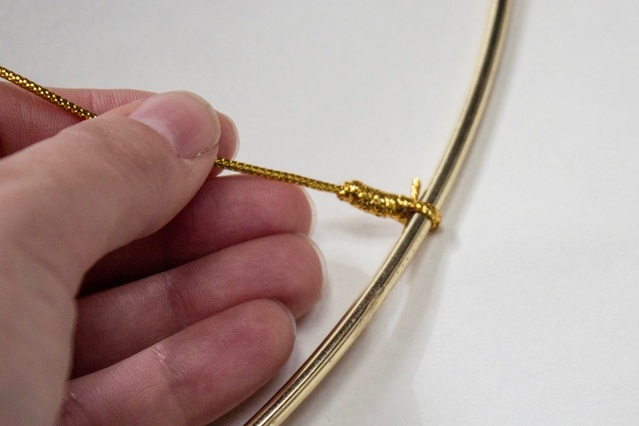
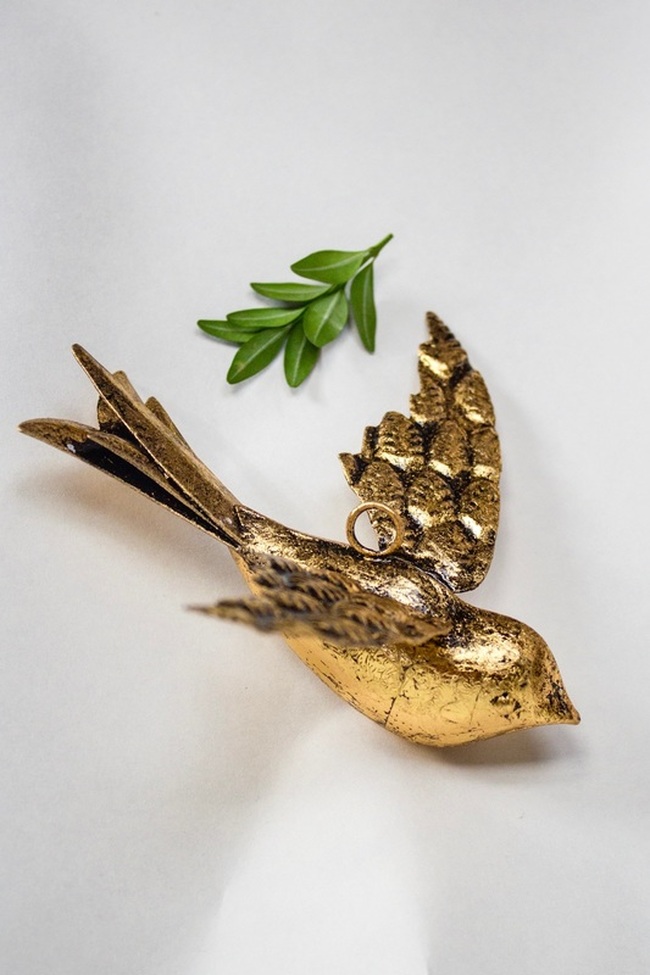
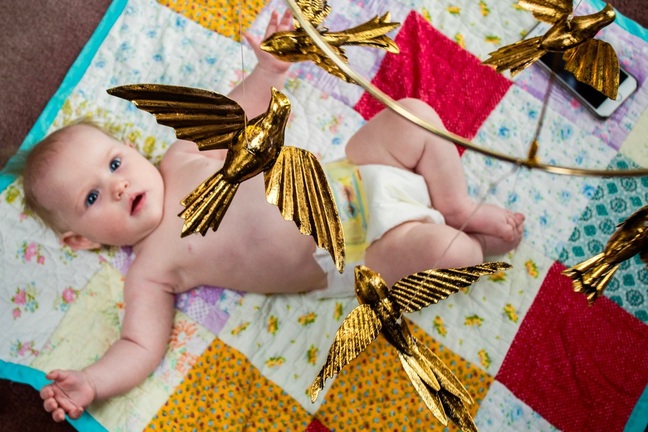
After searching high and low for a mobile that fit in with my daughters bird nursery theme I gave up and decided to make my own. This is my favorite kind of DIY project, really simple and it looks great. As long as you can tie some knots and use scissors you can do it, and then when people ask you where you got it from you can say you made it and look very impressive. Once I found these pretty bird ornaments, from Dot & Bo, the idea of a simple mobile just seemed right. I wanted the birds to be the focal point and appear to be flying, so I used fishing line to tie the birds to the brass hoop. I originally thought I would use an embroidery hoop as the main support for the birds to hang from but a quick look on Amazon and I found this beauty. A little gold cord and some fancy knots to suspend the hoop, and voila, a pretty bird mobile! I like that these bird ornaments can be reused and repurposed through the years. and Charlie seemed to think they were pretty cool when I gave them a test drive. I’ll have more pictures of how I’m using this mobile in an upcoming post about Charlie’s temporary nursery.
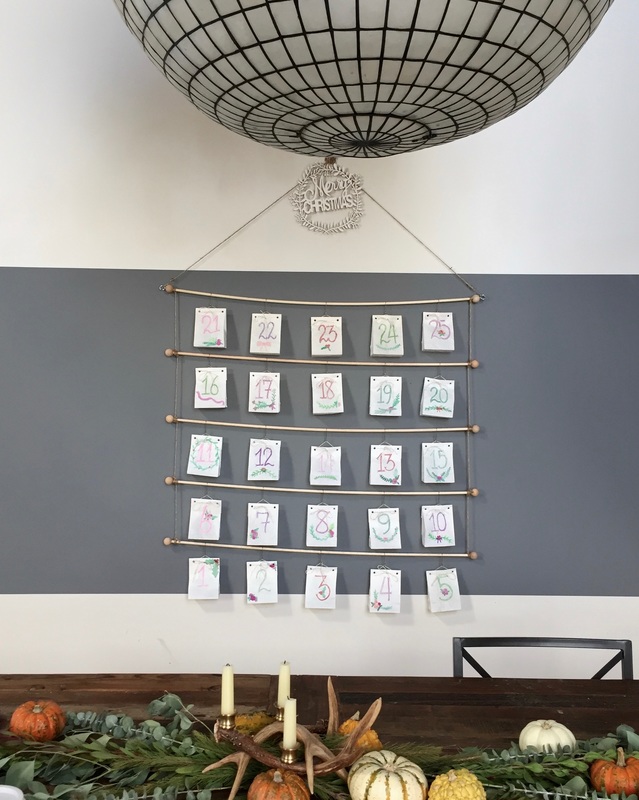
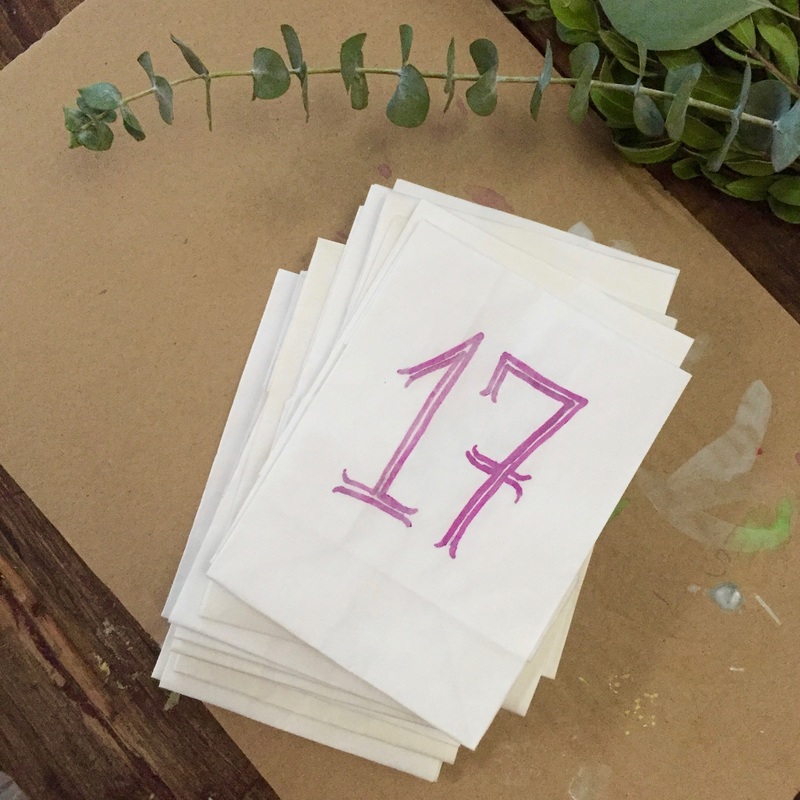
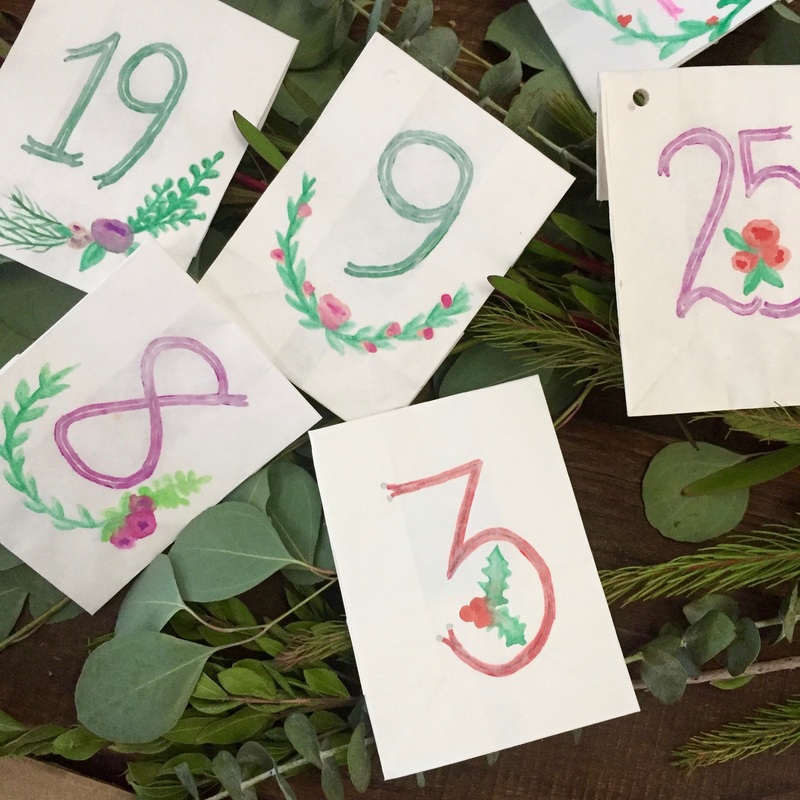
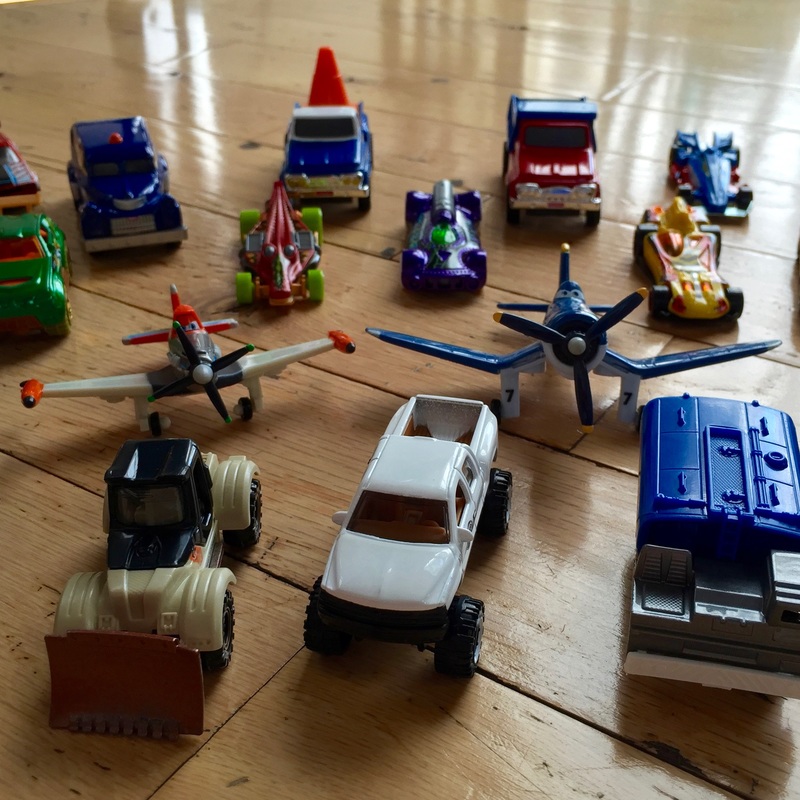
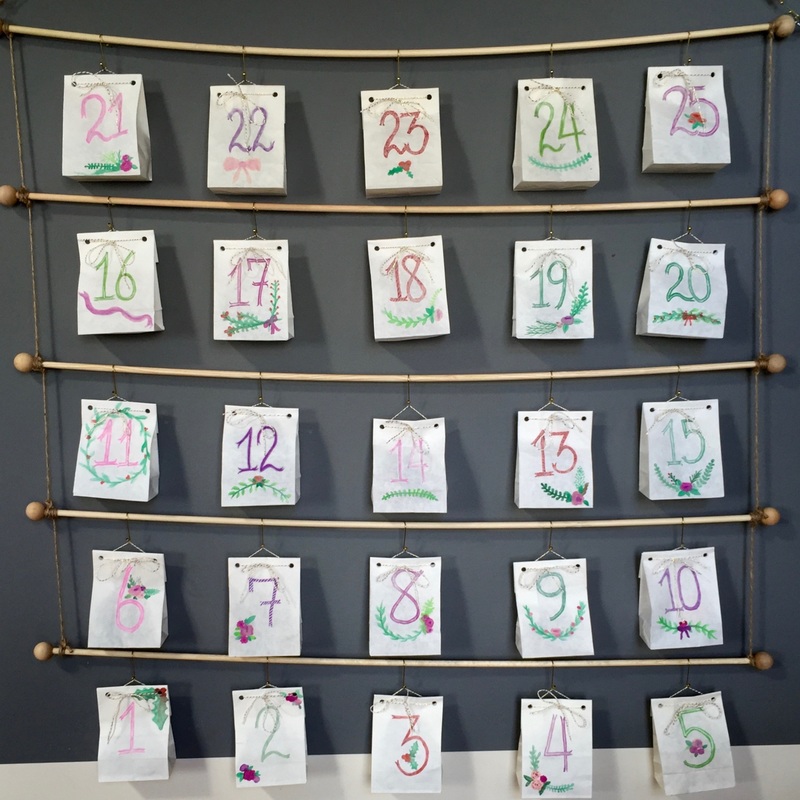
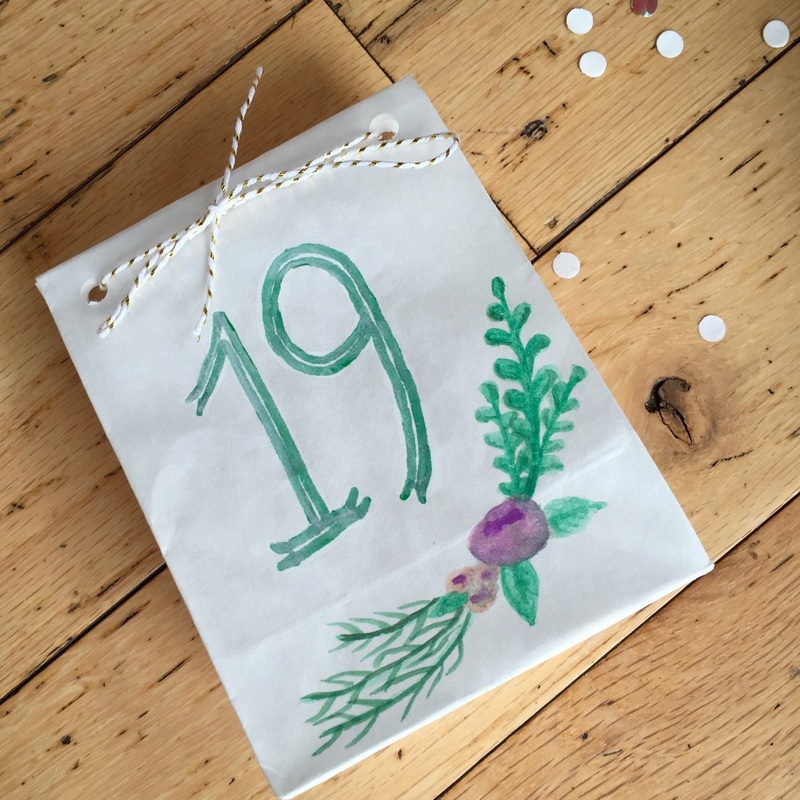
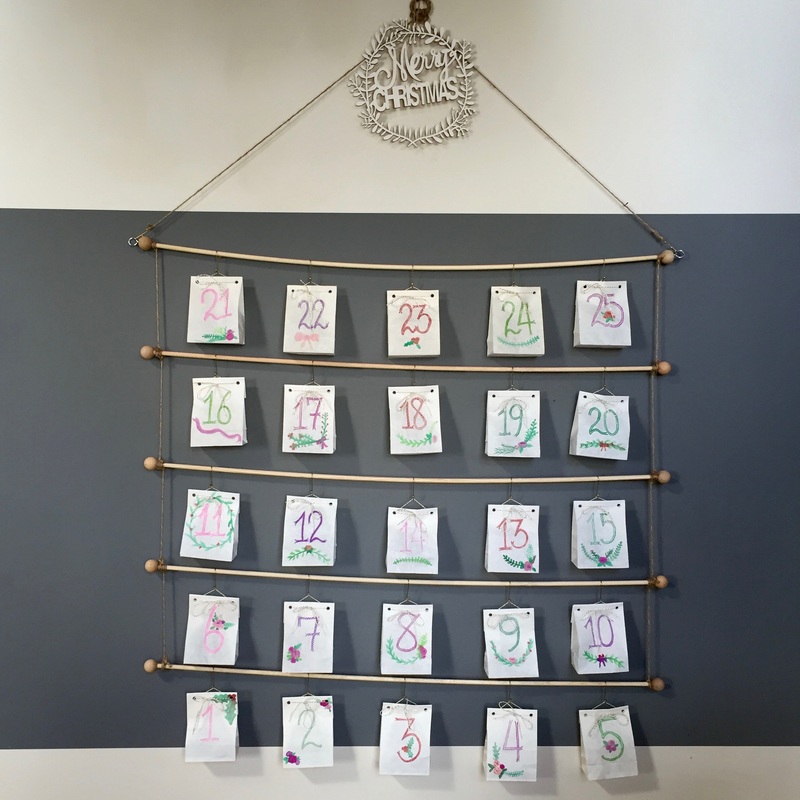
If you’re looking for an easy and cheap way to make your own advent calendar then this post if for you! My husband and I spent a couple of hours this weekend creating this DIY advent calendar for our son. We used some doweling, decorative string and craft paper bags to create a simple grid calendar. I wasn't sure when I started how I wanted to decorate the bags, but I decided not to go with a traditional design. I’ve been wanting to try my hand at some water color flower posies, and I thought that they would have a nice victorian christmas feel to them. We decided to put a little toy car or truck in each bag, not that I’m against candy but the thought of starting my toddlers day by telling him he can only have one piece of candy sounds like a bad idea. Toddlers are fun... This is a really simple calendar to create and you could easily customize it with different bags or envelopes and by using string or drift wood or even a hanger to suspend them. I chose the craft bags so that my toddler could have the pleasure of tearing them open, but keep in mind whatever it is that you want to put in your calendar. Both size and weight, whether you’re planning on small dye cast toys or mini bottles of whiskey, you’ll have to reinforce your structure accordingly.
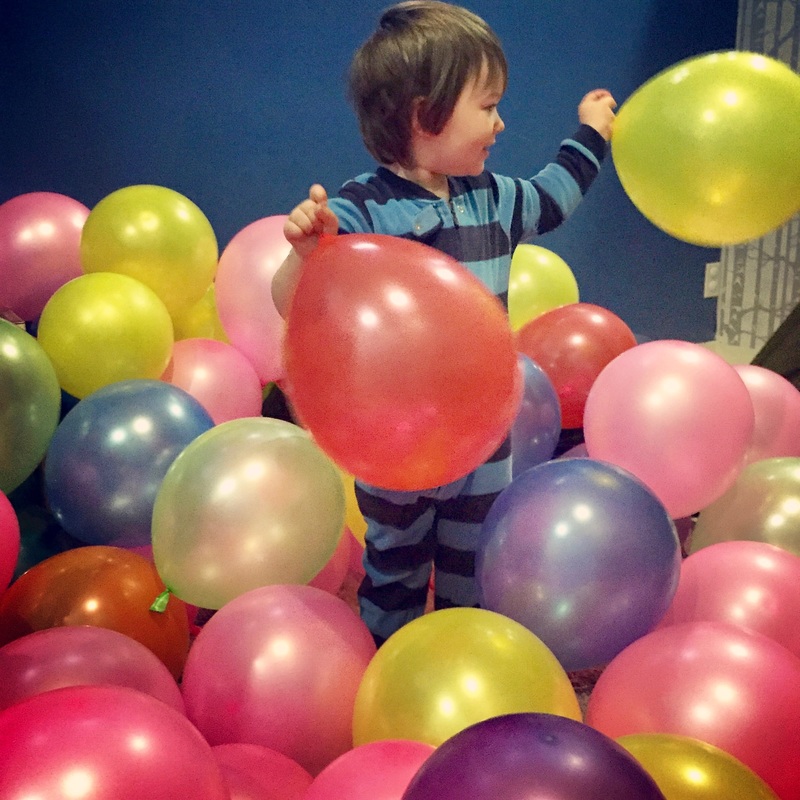
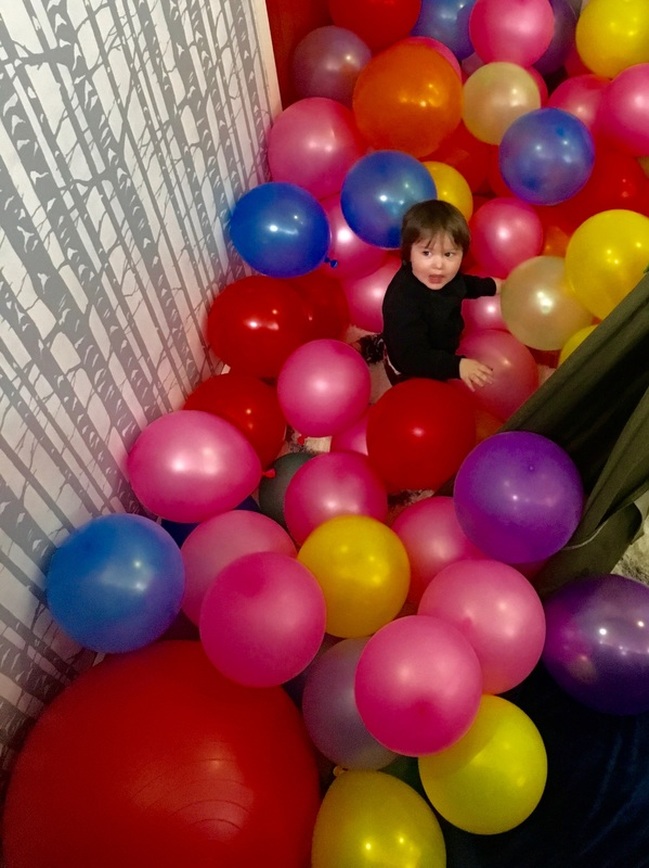
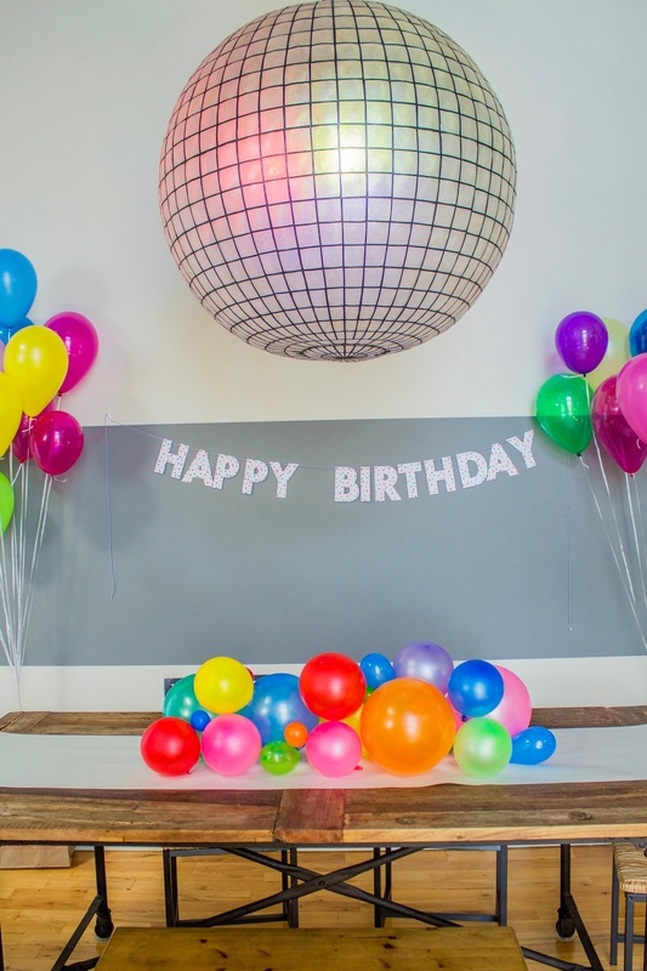
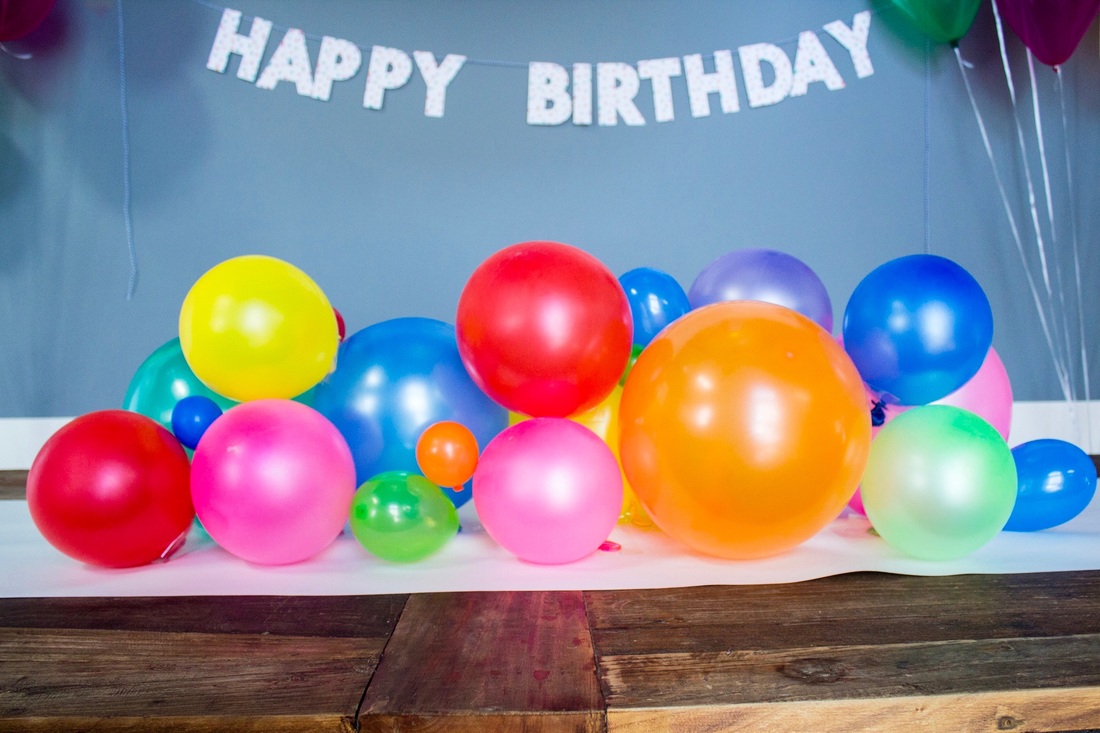
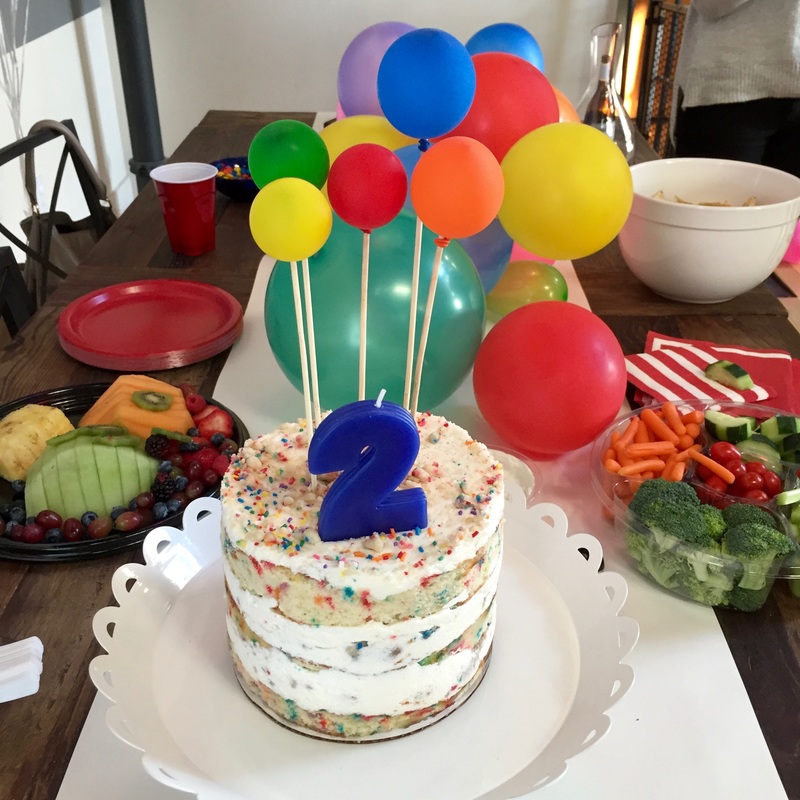
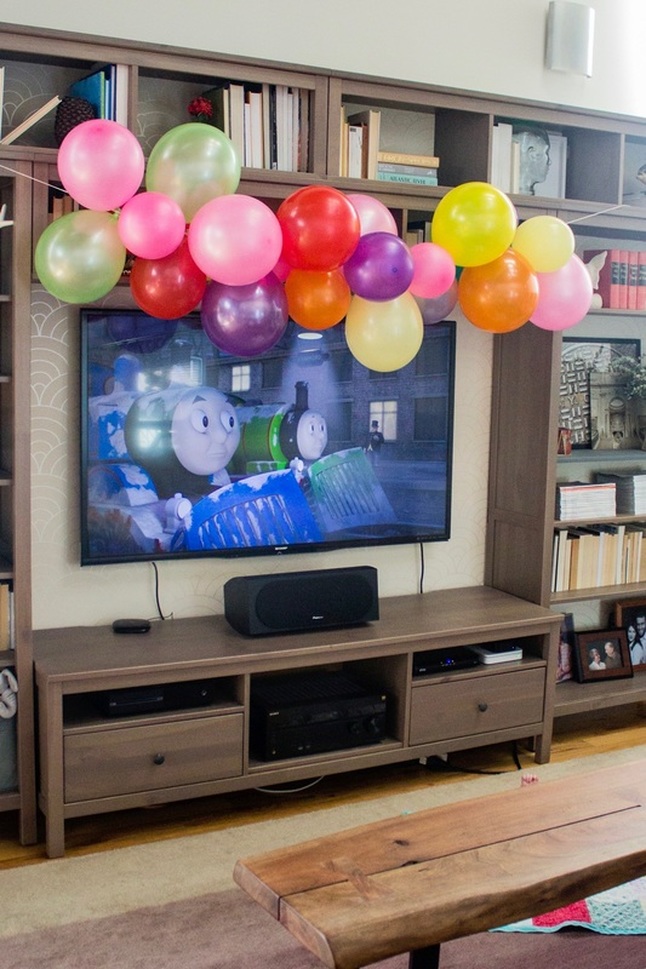
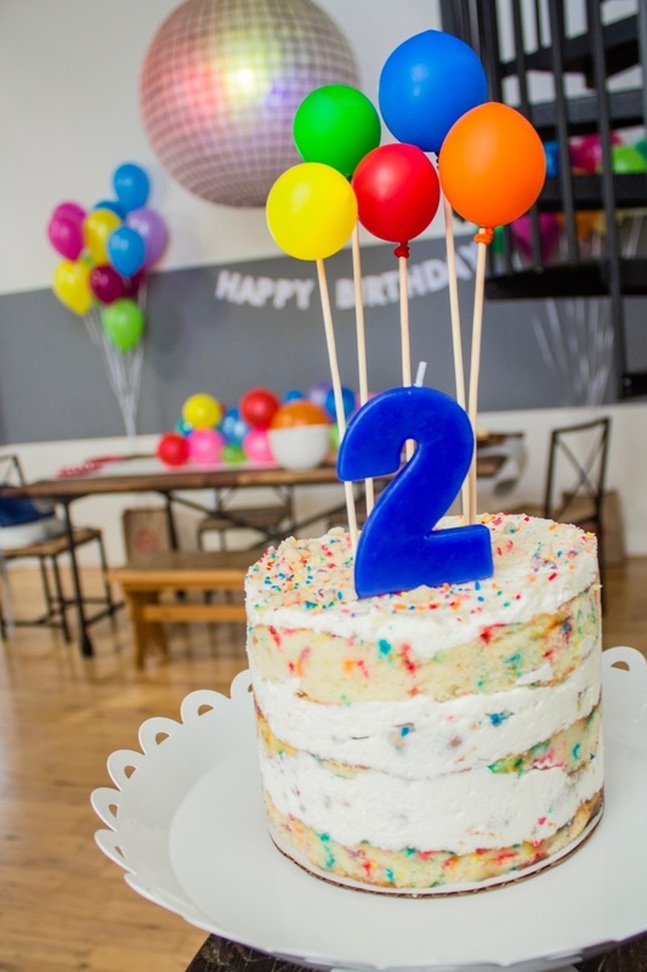
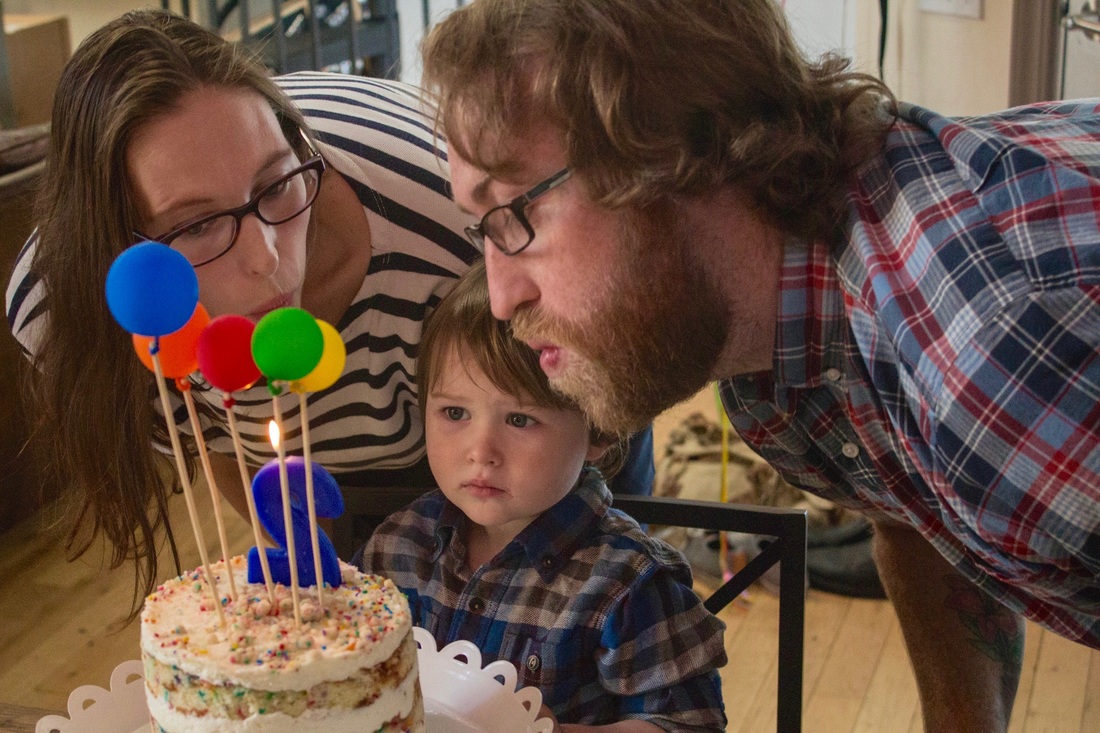
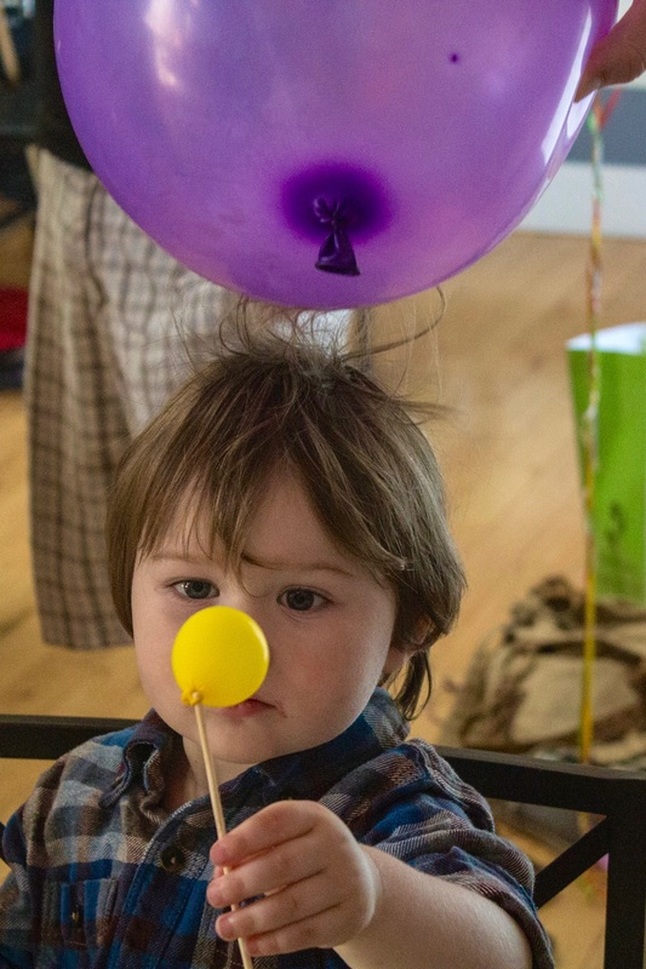
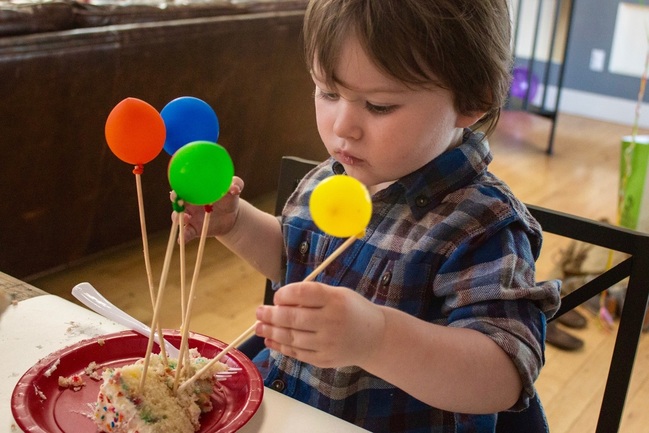
I meant to post this last week, but hosting a birthday party and Thanksgiving less then a week apart is already more then I can handle... My baby turned two, and we celebrated by being crazy parents and blowing up over a hundred balloons. He's totally obsessed with balloons right now so we filled his room with them when he woke up in the morning. It was awesome. This was a low-key family birthday party, but I still wanted some fun decorations to brighten up the house and make it seem really special. Balloons were a perfect solution, brightly colored and inexpensive they made for easy decorations. There are about a thousand ideas for decorating with balloons on Pinterest, all you really need is some tape or string. I made the centerpiece on the table by taping balloons of different sizes to a runner made of craft paper. Then I just layered more balloons in order to fill in the gaps and create an eye pleasing shape, easy peasy. There is always so much stuff to be done when hosting something like a birthday party, so I like to delegate and leave the cake making to the professionals. This is the Momofuku Milk Bar Birthday cake, and it was totally worth shipping across the country. It was delicious and you can read more about how I ordered it in my Friday post. I do like to make something special as a topper. Last year I made a pretty spectacular campfire out of fondant, complete with a flameless candle for effect. This year I used water balloons tied to bamboo skewers to create a balloon bouquet. Add a really simple balloon banner made by tying different sized balloons together along a length of string, and some balloon bouquets that we made with the help of a helium tank we got from target, you can find it here, and you've got a party! Now we just have to figure out how to get rid of all of the balloons...
|
Categories
All
Archives
March 2021
|
