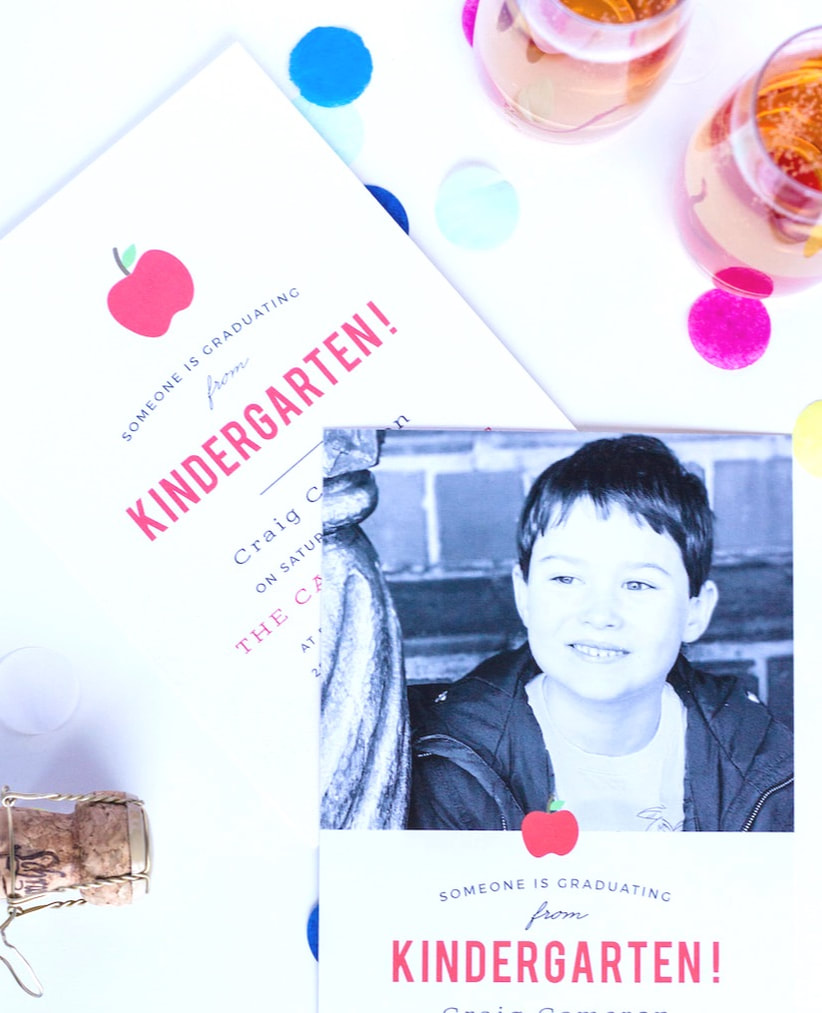
 This post is sponsored by Basic Invites, and any opinions or reviews expressed are my own. If you didn’t already know already I’ll take any excuse to make a cocktail and throw a party. So, when Basic Invites asked me if I would be interested in writing a post about their graduation announcements I had the perfect event in mind. I’m sure I’m not the only one with an upcoming graduation in my future, and what better way to celebrate getting my first born through Kindergarten alive then a party! Basic Invites has so many graduation party invitations, there’s really something for everyone even my kinder-grad. You can customize you invites with their almost unlimited color options including over forty different colored envelopes. I love that I was able to order samples of my customized invites so I could see how they look printed with my photos, color and paper choices. If you’re also looking for invitations for an upcoming graduation Basic Invites is offering 15% off your order right now with the coupon code: 15FF51. 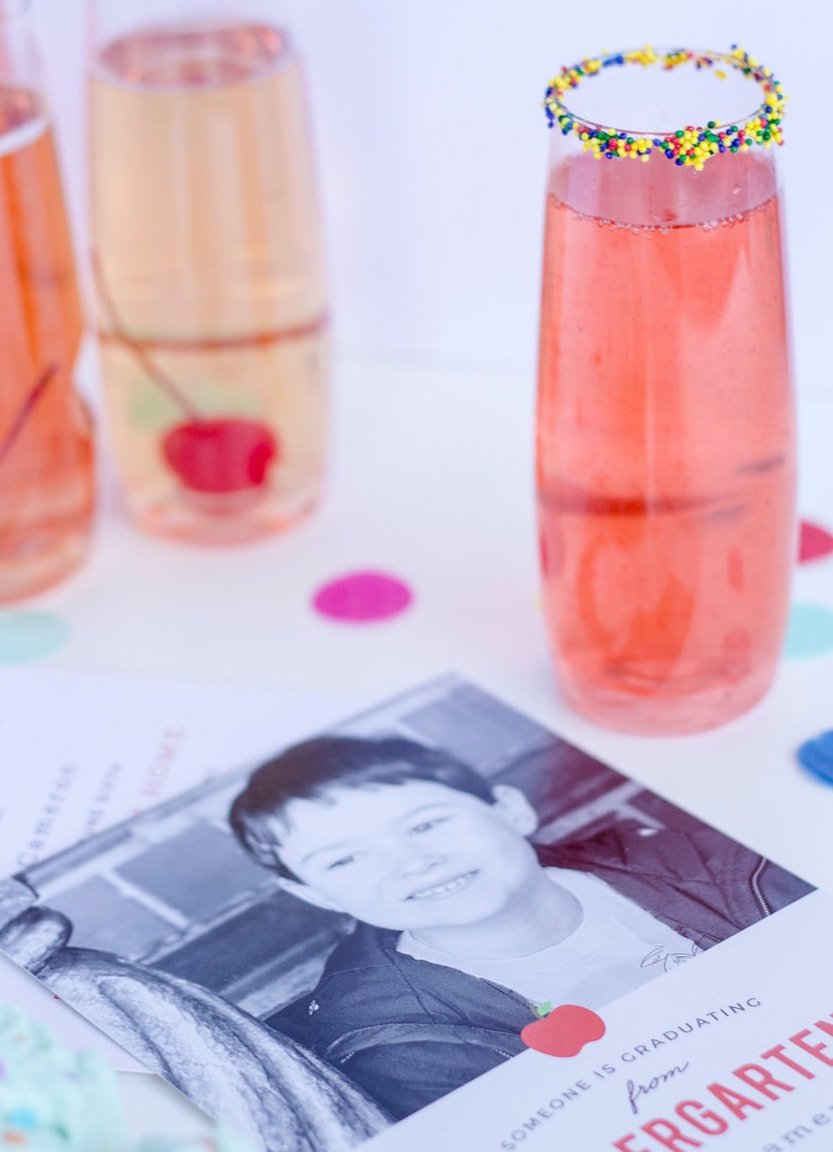 I figure celebrating making it through kindergarten is as much for the parents as it is for the kindergartener, it can be a pretty steep learning curve for everyone involved. A champagne cocktail is my go-to, it’s easy, delicious and what better way is there to celebrate. Since a mocktail, (or as we call them in my house cocky-tails) was also in order I based both drinks on a Shirley Temple. The champagne cocktail is an elevated version that draws inspiration from the flavors, while the mocktail uses higher quality ingredients to create an alcohol free drink both kids and adult will enjoy.  Shirleys All Grown up 3 oz. Champagne .25 oz. Cointreau .25 oz. Luxardo Liqueur Maraschino cherry for garnish Place the cherry in the bottom of a champagne flute, add cointreau and Luxardo to the bottom of the glass. Pour Champagne over the top until glass is full, enjoy! 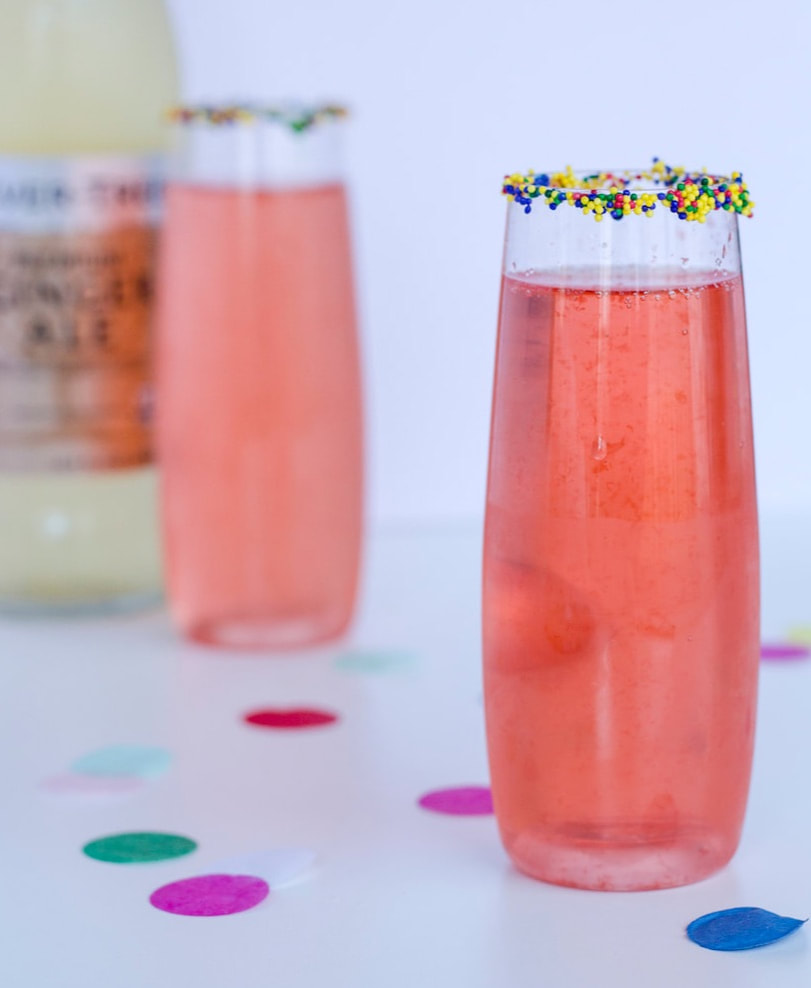 Shirley Temple Black
3 oz. Ginger beer Grenadine .25 lime This is easy. Rim plastic stemless Champagne flute with sprinkles. Pour as much or as little Grenadine syrup as your comfortable with into the bottom of the glass, squeeze a bit of lime juice on top and fill with chilled Ginger beer. Cheers!
2 Comments
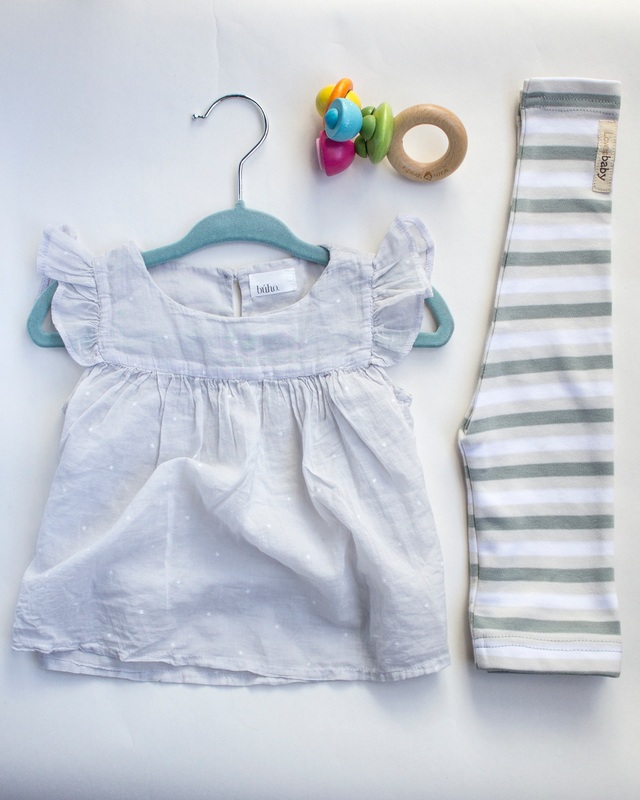
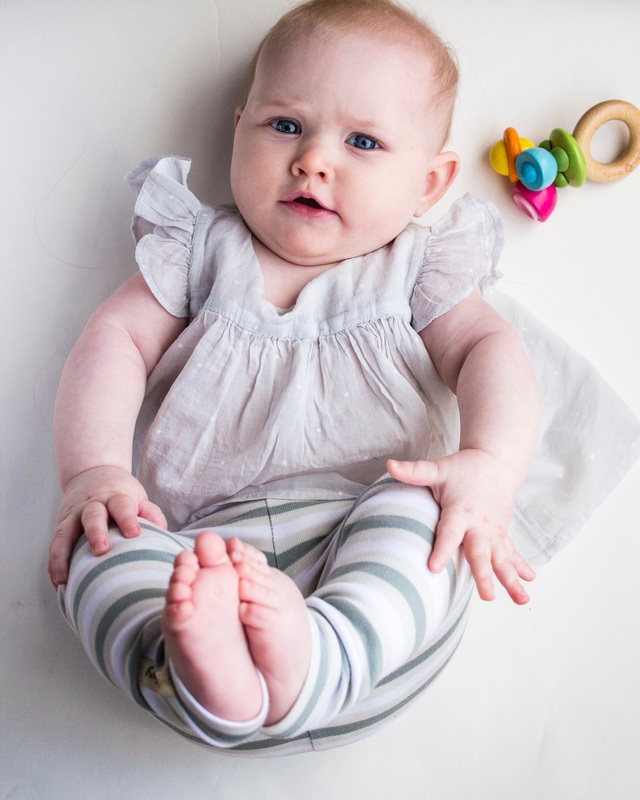
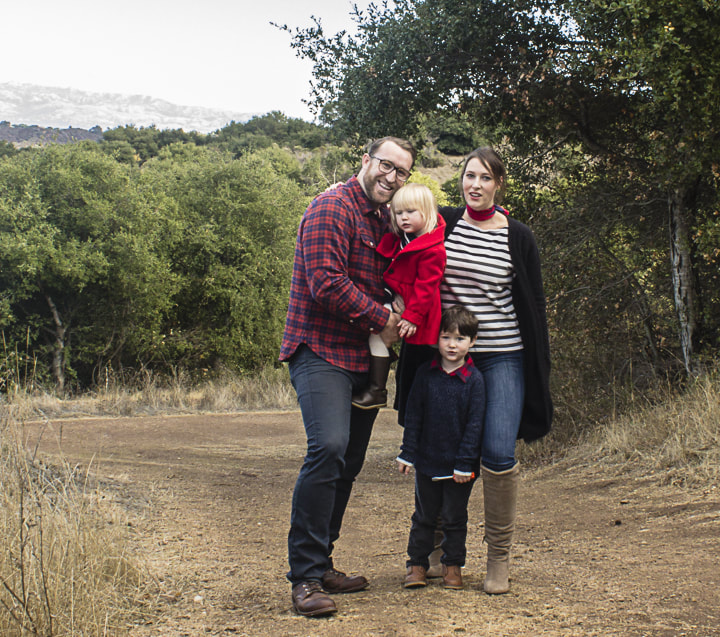 It’s that time of year again, the frantic scramble to get a decent photo of all of the family members to put on your holiday card. Or maybe that’s just me… If you’re like me, getting everyone in one spot, smiling and all wearing pants is almost impossible, then scheduling and actually making it to a photo session with a photographer? Not going to happen. Since we live on the opposite side of the continent from most of our friends and family I make sure that we have a family card to send to everyone during the holidays. I’ve been taking our family photo myself since my son was born, and it’s a bit of point of pride for me. So here are my tips for taking your own family portraits. Always Be Prepared… like a boy scout, but cooler obviously I’ve found that the way to limit the craziness is to plan my shoot. I make sure to pick out everyones outfits or the color scheme that I want to work with. Posing is harder then it looks so take a couple of minutes to search Pinterest for ideas about what style photos you want, and types of poses. Do you want props? Keep in mind that the extras will add extra time and stress to your shoot. 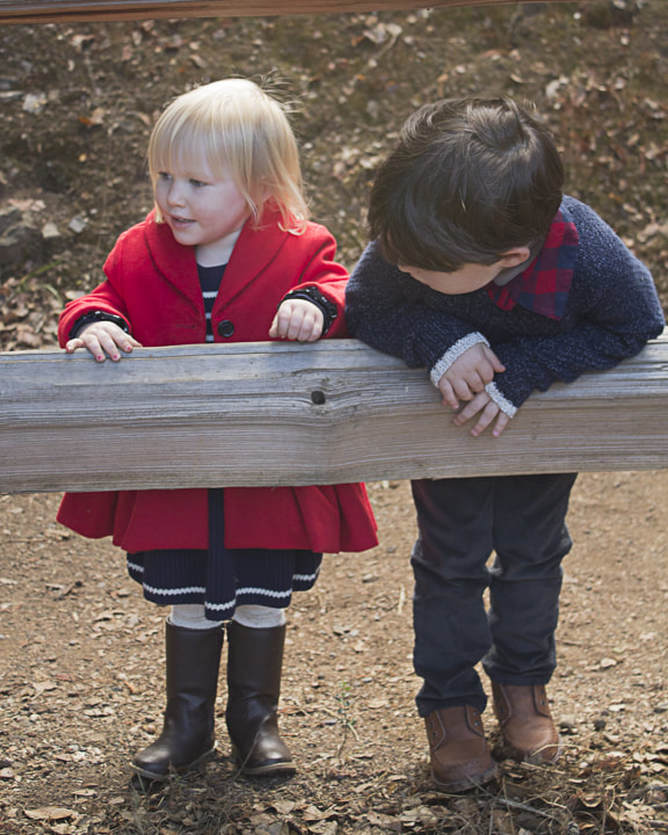 Location, Location, Location… and dont forget about your light! Choose your location in advance, the more time you spend looking for an ideal spot the less time little kids will play nice for the camera, trust me I make this mistake every year. It’s best to choose a place where you will have some privacy, while you run back and forth from the camera looking like a maniac. If you’re planning an outdoor shoot, which is the easiest way to get good light, remember that you need to shoot early in the morning before 10am or after 3pm or else you will get harsh light that will not be flattering. Don't worry if the day is overcast, this is actually the most flattering and easiest light for taking portraits. If you’re shooting inside, make sure you're in a location with a lot of natural light or else your shutter speed may end up being too slow especially if you have small children who refuse to sit still. 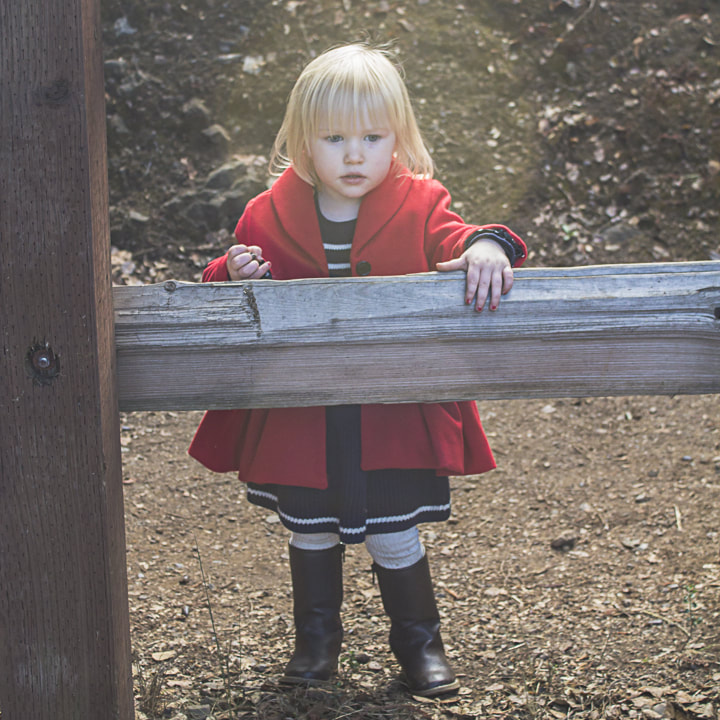 Set It And Forget It… but not really I would recommend using a DSLR with a tripod and a timer or a shutter release. If you don't happen to have a fancy camera, no worries, an iPhone will do. Especially if you happen to have an Apple watch. You can use your watch as a remote shutter release for your phone. Use an iPhone tripod or McGuiver that shit and prop it up on some thing. Which ever kind of camera, use all of your auto settings, especially if you dealing with kids. Set your camera for multiple exposures so you only have to press the shutter every ten photos or so, and to help capture whatever crazy thing your toddler is doing. Last word of advice, relax and have fun. They aren't going to be perfect so don't stress, you might be surprised by how much you love how not perfect they are. 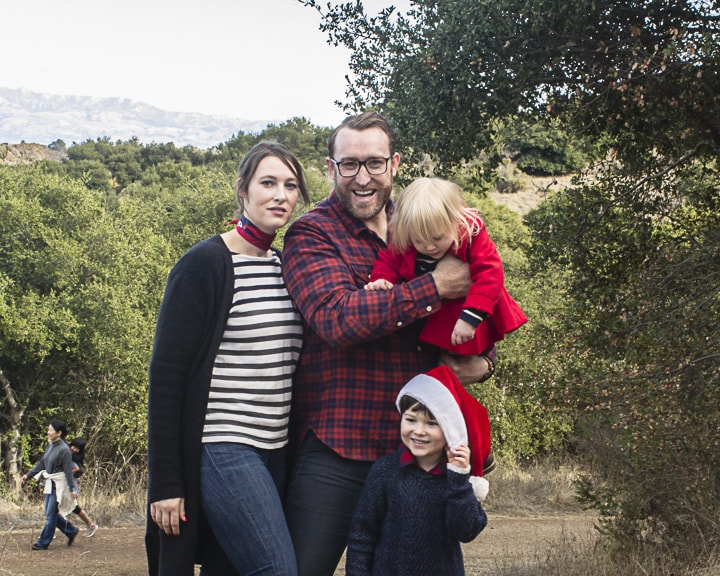 Ok, so I’ve been trying to get this post out for at least a week now, but I’ve been super distracted. Things are moving ever so slowly on the house buying front, and I’ve had it with this crazy holding pattern that we’re in. I need to know, and I need to know now! Mostly, I need to know if I can start packing yet…Things have ground to a halt while I wait to see if I should start filling boxes or not, and one of those things is the never-ending rotation of baby clothes. Any baby clothes smaller then 12 months goes through this crazy cycle of waiting for it to fit, wear it once and then its too small so you donate it and move on. ** Just a little update, this post now includes affiliate links, but was originally written before I had a relationship with the company and I wasn't compensated for any of the services or products discussed below.** 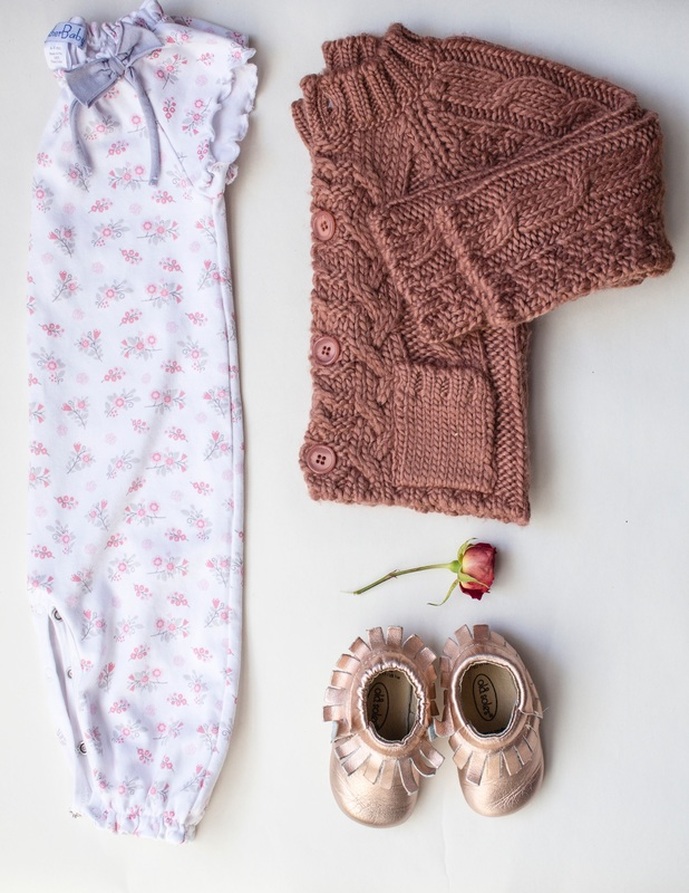
Luckily, I really hit the hand-me-down jackpot with this baby, which means that I can spend all of that money on silly over-priced shoes and frilly little outfits. So when I found Mac & Mia, a service that offers to ship you a box of baby clothes picked out by a stylist I couldn't resist. I was so impressed with the my stylist, not only is there a questionnaire when you sign up to help determine the style your looking for, but I was assigned an actual stylist who contacted me by email to further discuss what I was looking for and followed me on Instagram so she could get a better idea of how I was currently dressing the baby. 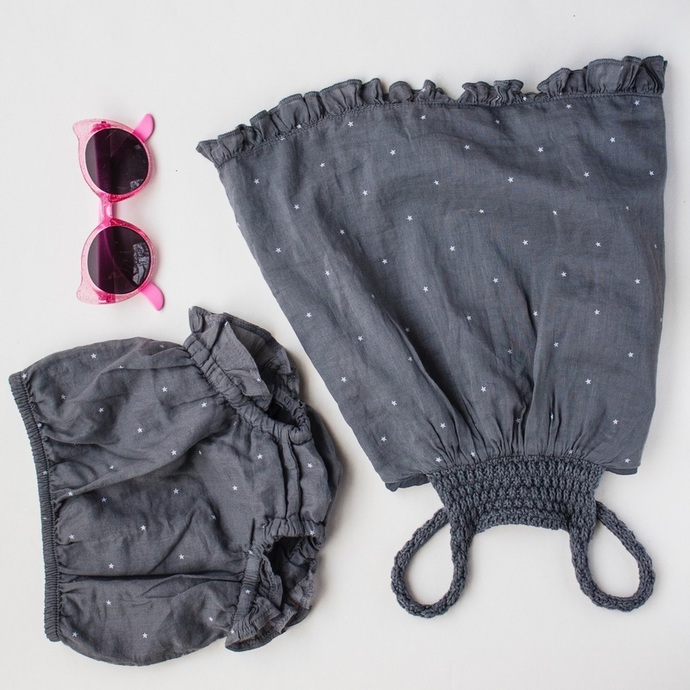  You can get a better idea of how the service works from their site here. All of the pieces that were sent to me were beautiful, well-made and that being said they did run a little on the expensive side around an average of $40 each. I ended up returning a few of the pieces mostly because Charlie already had something similar. For me this is just a little too expensive to do on a regular basis, but I will definitely consider it again during the next big growth spurt. If you’re a really busy mom who loves to put beautiful clothes on their kid but doesn't have the time to shop around then I would really recommend this service. They will also shop for an occasion, so if you’re looking to splurge on a special birthday or holiday like Christmas or Easter, but picking out baby outfits isn't your thing let one of Mac & Mia’s stylists handle it for you.
I meant to post this last week, but hosting a birthday party and Thanksgiving less then a week apart is already more then I can handle... My baby turned two, and we celebrated by being crazy parents and blowing up over a hundred balloons. 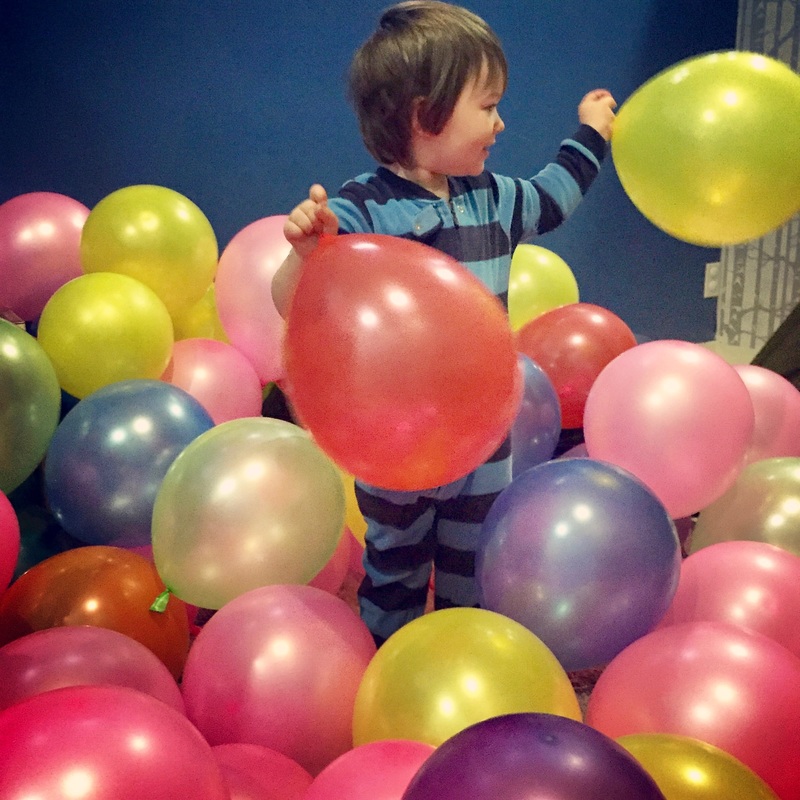 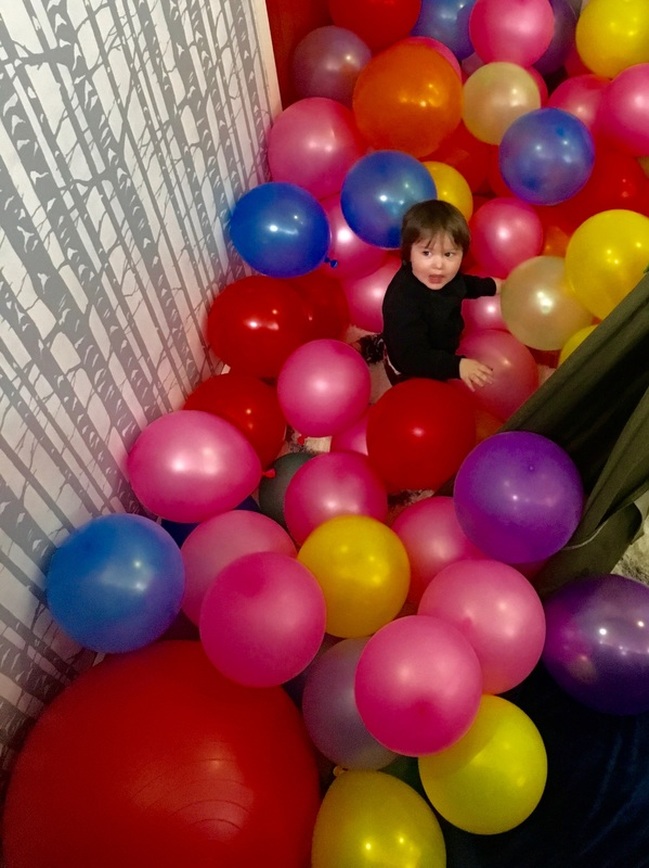 He's totally obsessed with balloons right now so we filled his room with them when he woke up in the morning. It was awesome. 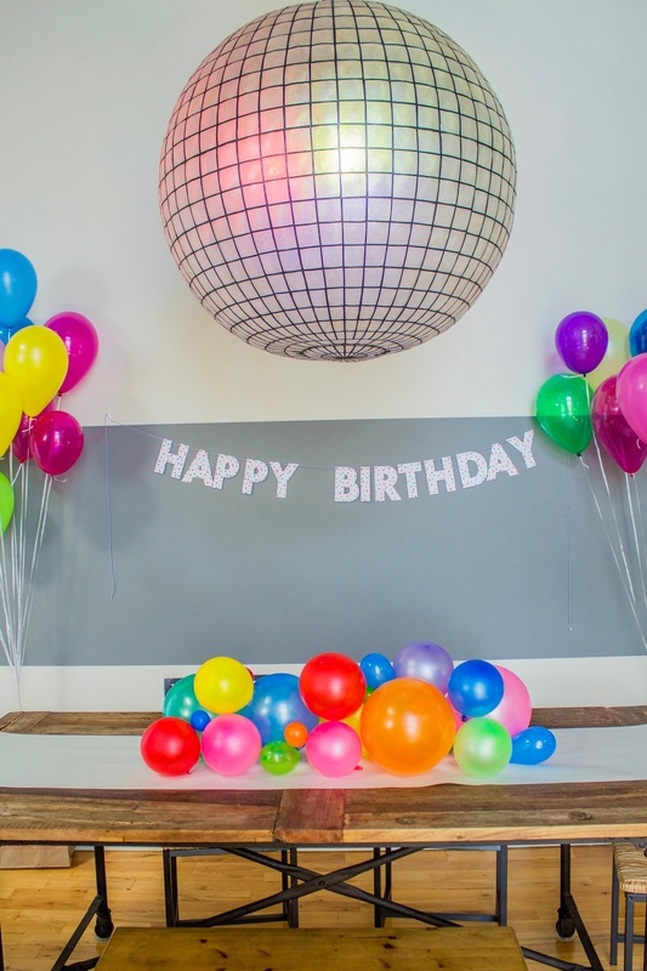 This was a low-key family birthday party, but I still wanted some fun decorations to brighten up the house and make it seem really special. Balloons were a perfect solution, brightly colored and inexpensive they made for easy decorations. There are about a thousand ideas for decorating with balloons on Pinterest, all you really need is some tape or string. I made the centerpiece on the table by taping balloons of different sizes to a runner made of craft paper. Then I just layered more balloons in order to fill in the gaps and create an eye pleasing shape, easy peasy. 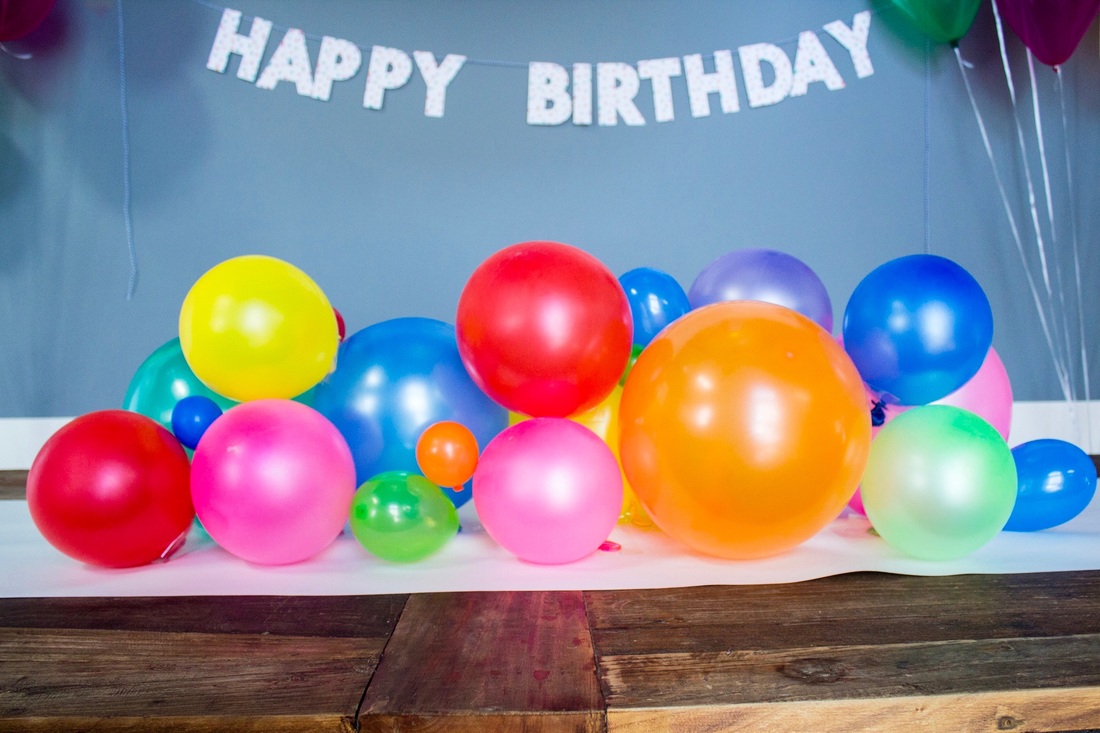 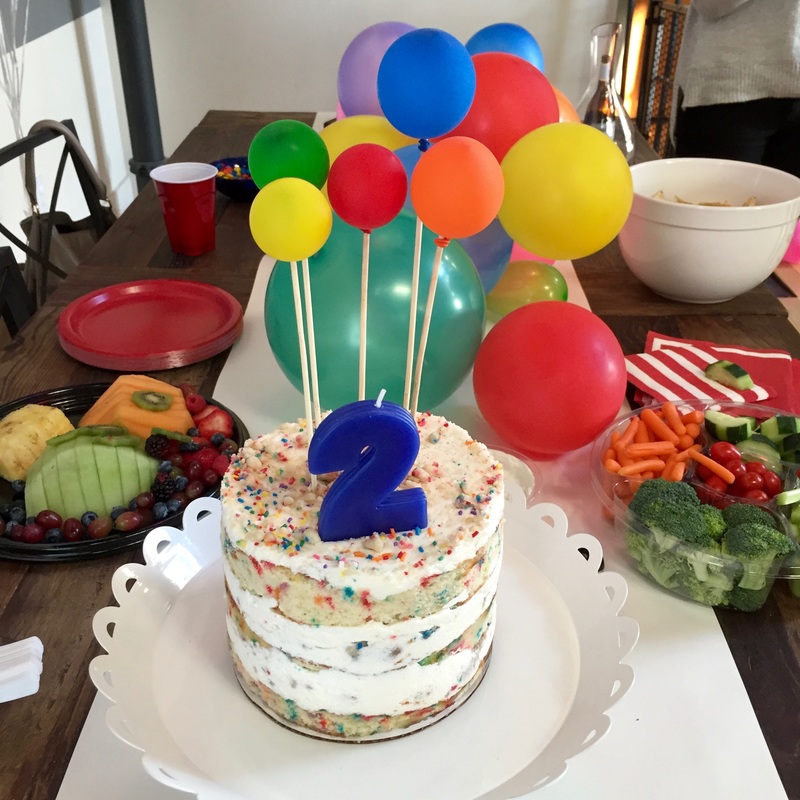 There is always so much stuff to be done when hosting something like a birthday party, so I like to delegate and leave the cake making to the professionals. This is the Momofuku Milk Bar Birthday cake, and it was totally worth shipping across the country. It was delicious and you can read more about how I ordered it in my Friday post. I do like to make something special as a topper. Last year I made a pretty spectacular campfire out of fondant, complete with a flameless candle for effect. This year I used water balloons tied to bamboo skewers to create a balloon bouquet. 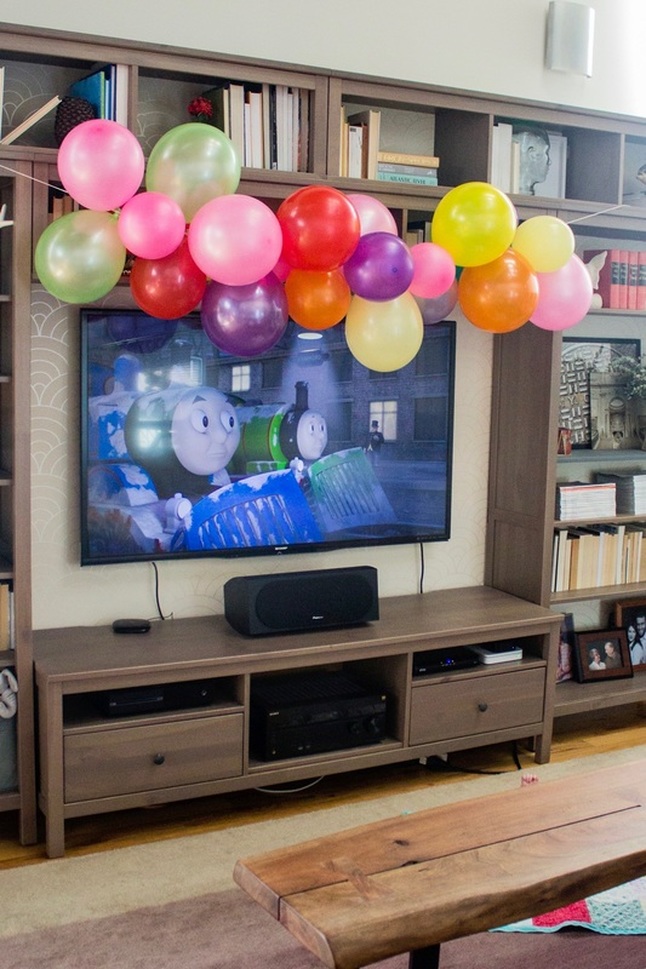 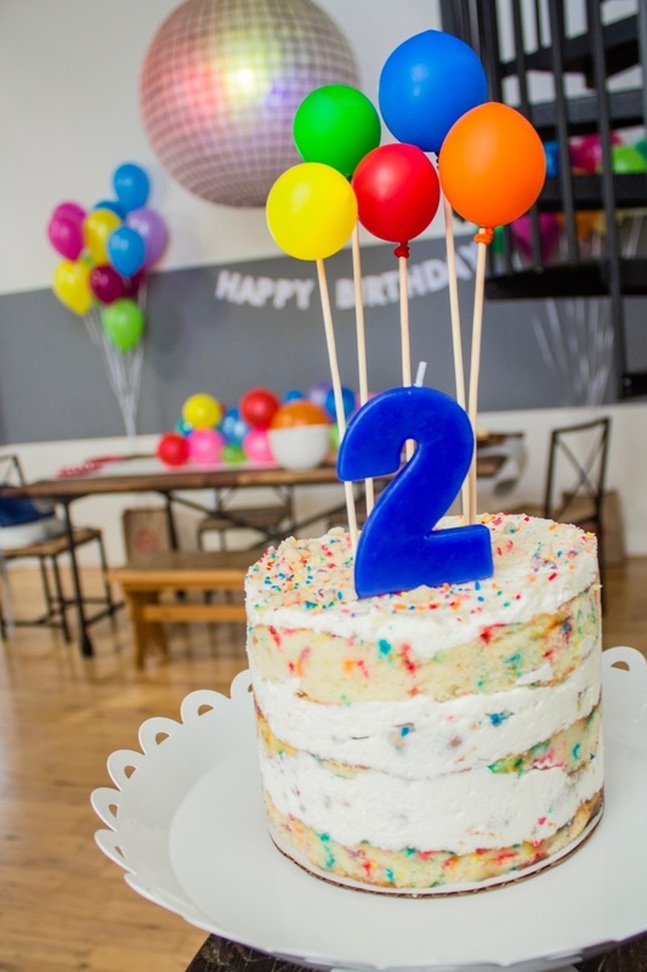 Add a really simple balloon banner made by tying different sized balloons together along a length of string, and some balloon bouquets that we made with the help of a helium tank we got from target, you can find it here, and you've got a party! 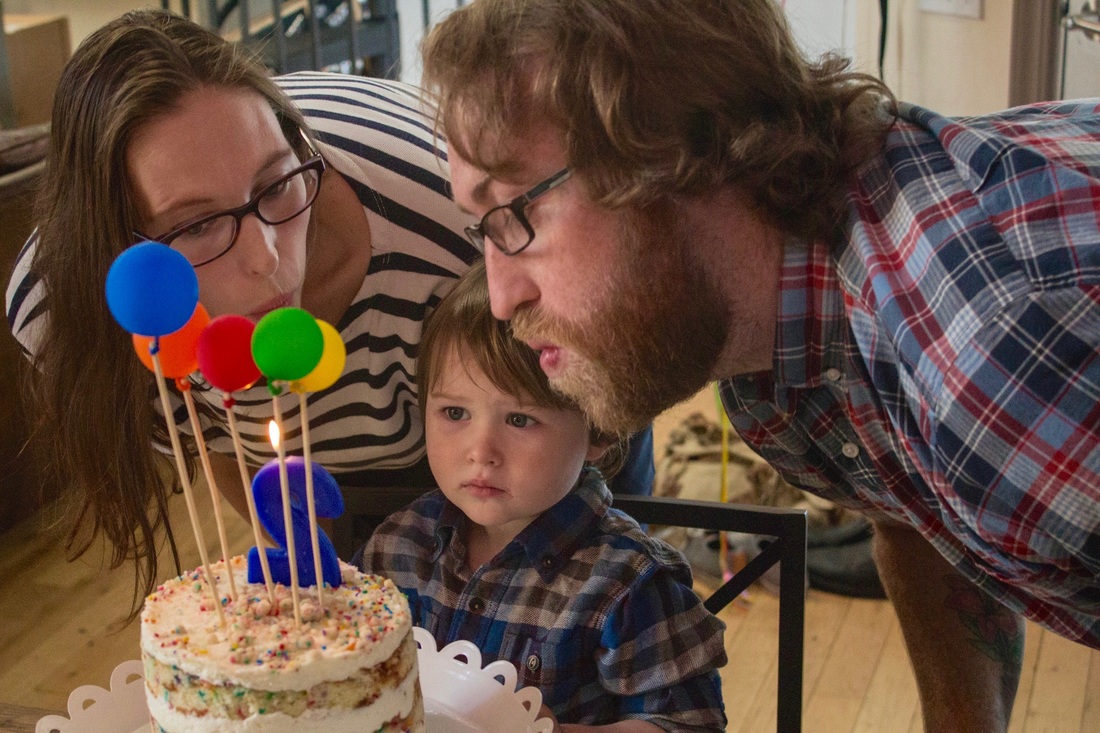 Photo credit: Bronwyn Huddleson 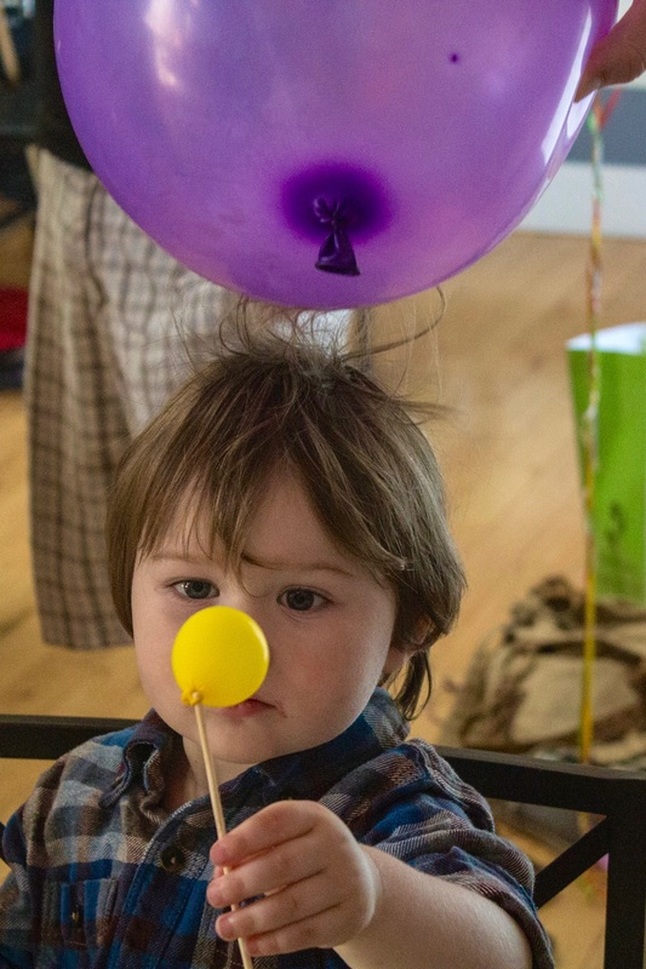 Photo credit: Bronwyn Huddleson 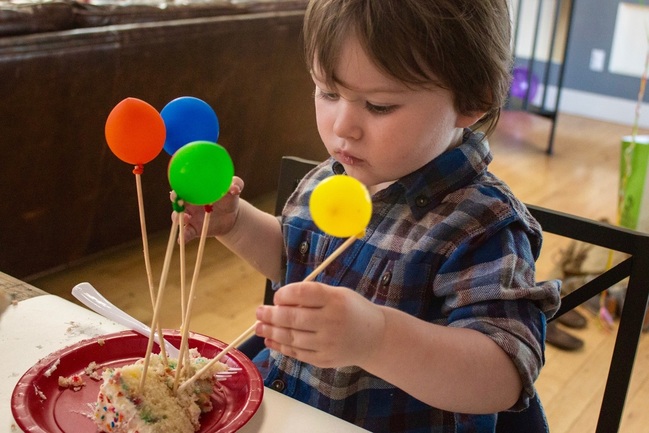 Photo credit Bronwyn Huddleson  Now we just have to figure out how to get rid of all of the balloons...
|